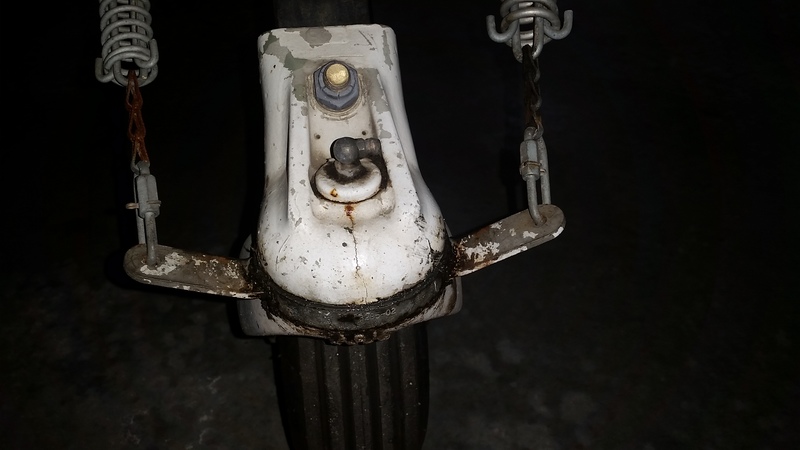
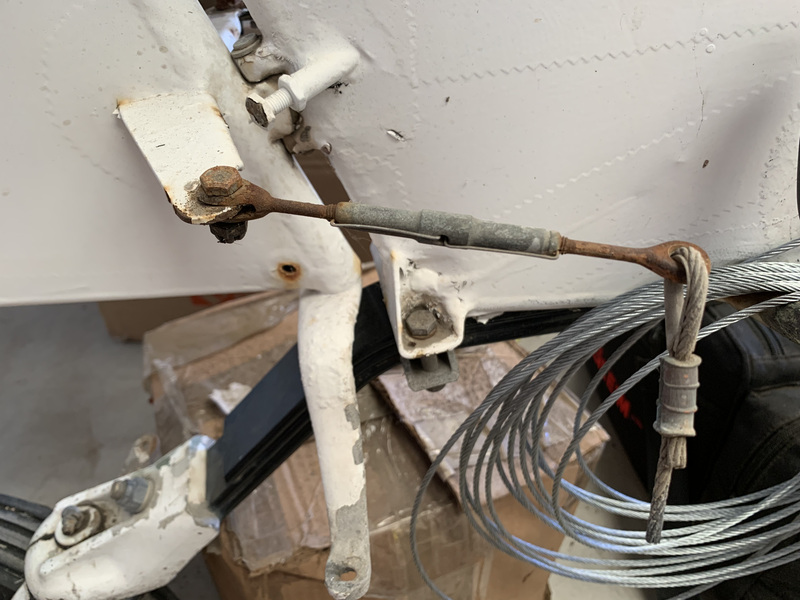
While doing a walk-around of the Maule, I noticed a rather unfortunate crack in the tailwheel head. The bright side was that the airplane was down for some long-term maintenance anyways (avionics/instruments upgrade, described elsewhere), so I could fix this at my leisure. And, due to the rather extended downtime caused by the avionics upgrade and me working my dayjob all the time, the rudder cables and hardware had corroded way past any point of serviceability.
I started with replacing the rudder cables. Fortunately for me, I recently obtained a Locoloc SC-1, exactly the right tool to build cable assemblies.
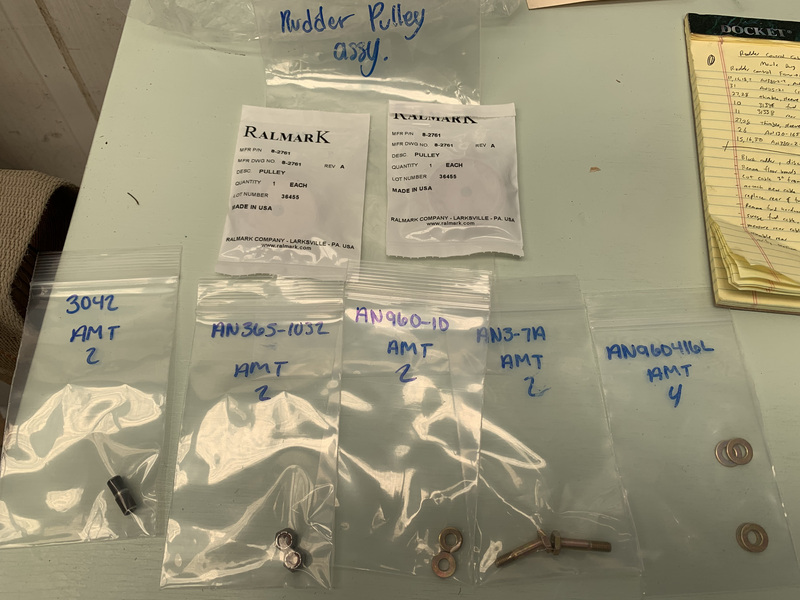
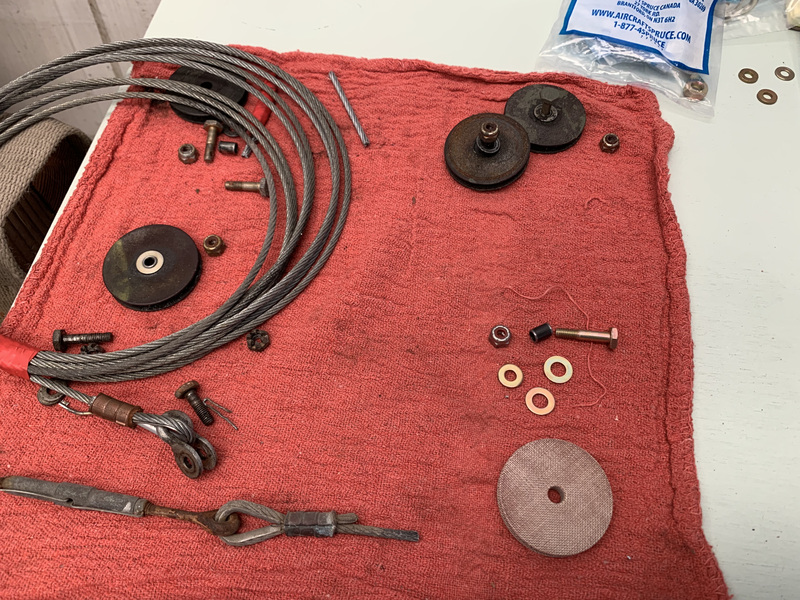
First step was to order new pulleys from Maule, part numbers 3133B (aft), and 3134E (forward). The factory has truly outstanding customer support, and parts are way less expensive than one would expect. The cable assemblies themselves can’t be ordered; they’re assembled on the aircraft, so I ordered all the parts needed, as specified in drawing 3177F, from Aircraft Spruce.
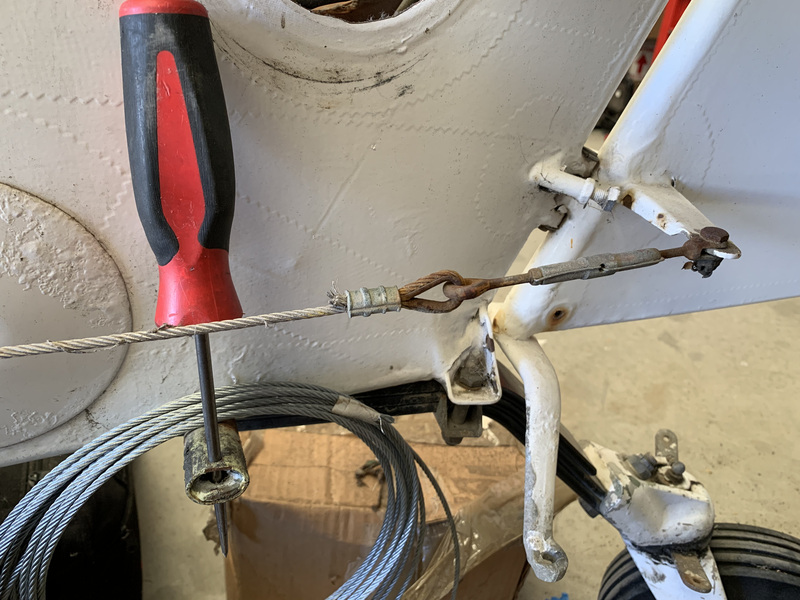
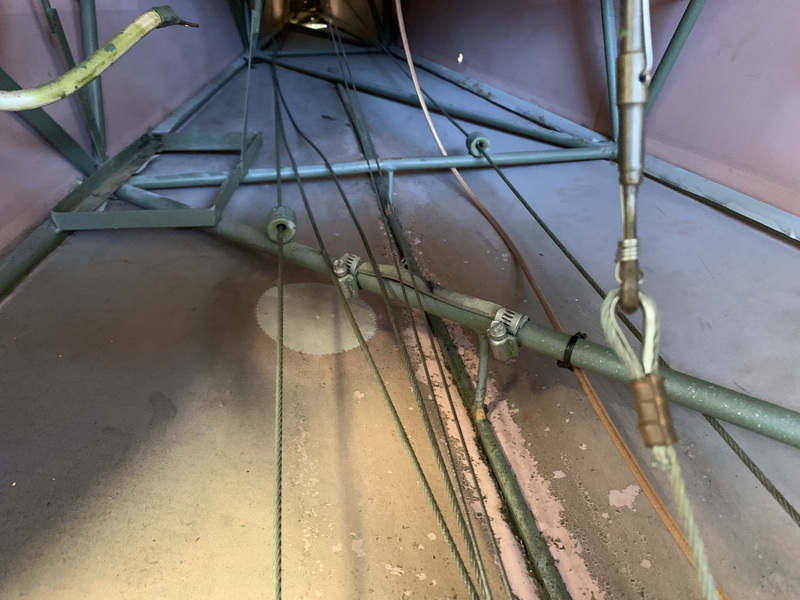
To replace the old cables, I cut them near the rear turnbuckle, taped the new cable to the old, and gently pulled them through to the cabin.
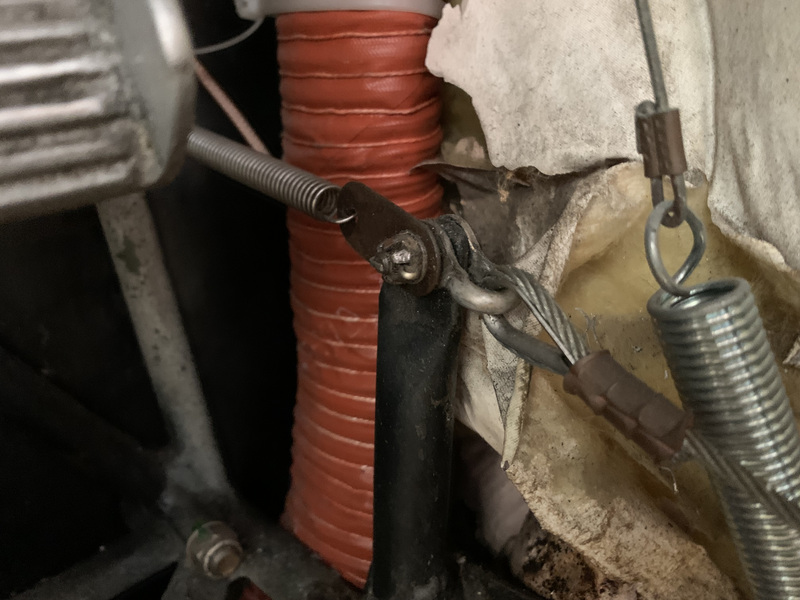


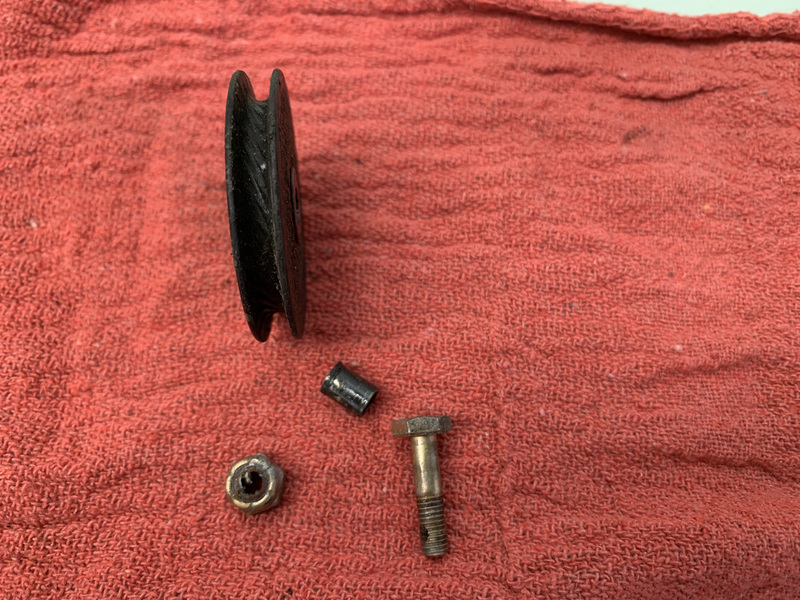
Next step was to replace the old pulleys with the new.
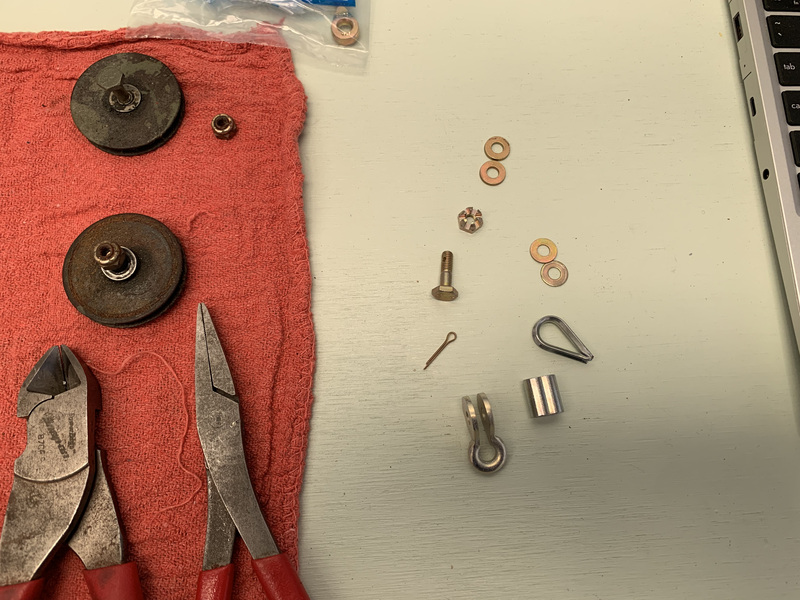

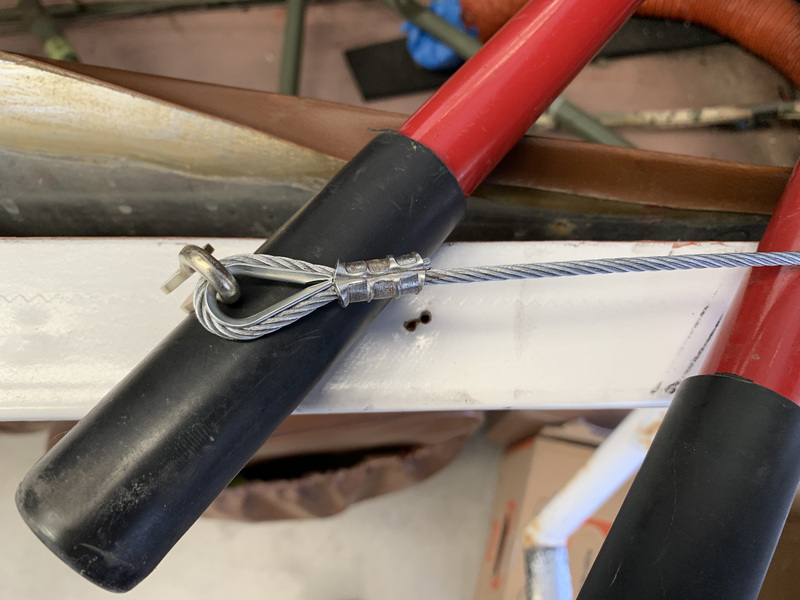
Then time to swage the new cable ends on.

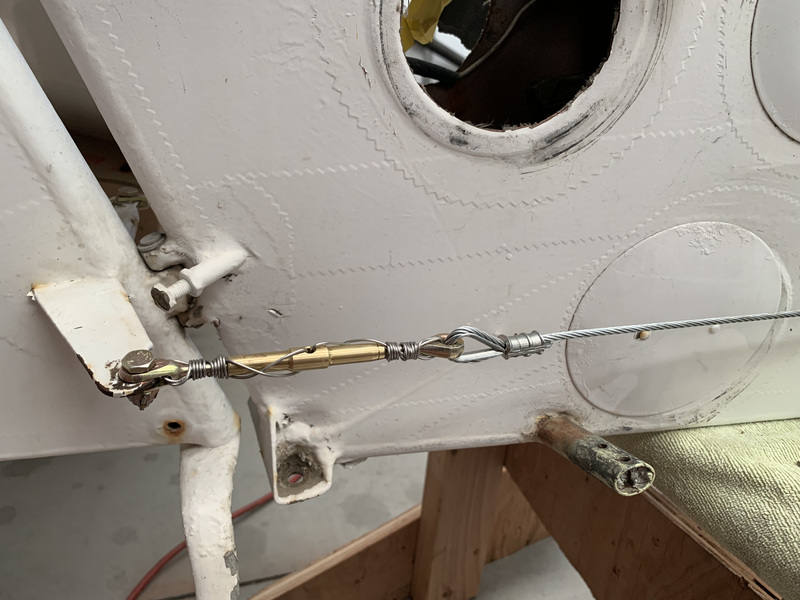
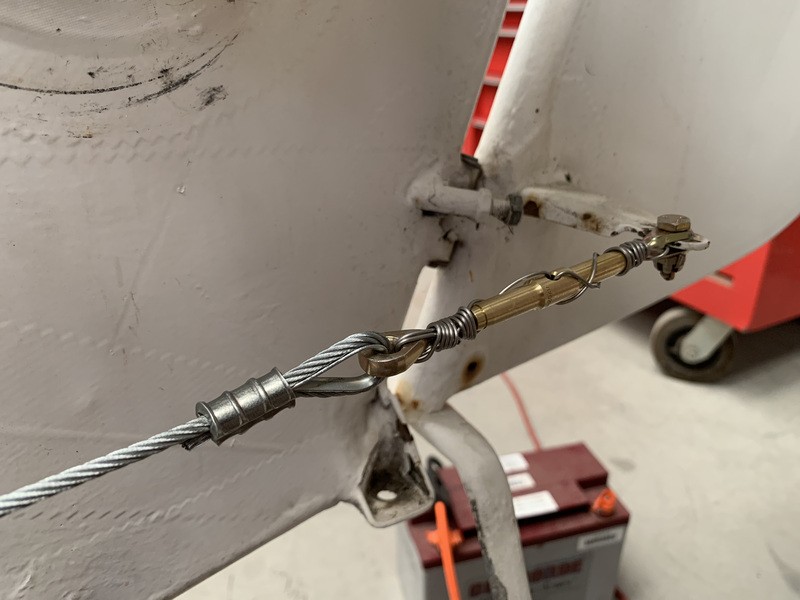
With all that together, I just finished up the rigging per the maintenance manual (tighten the turnbuckles until you get the right cable tension, which is pretty low for the rudder cables).
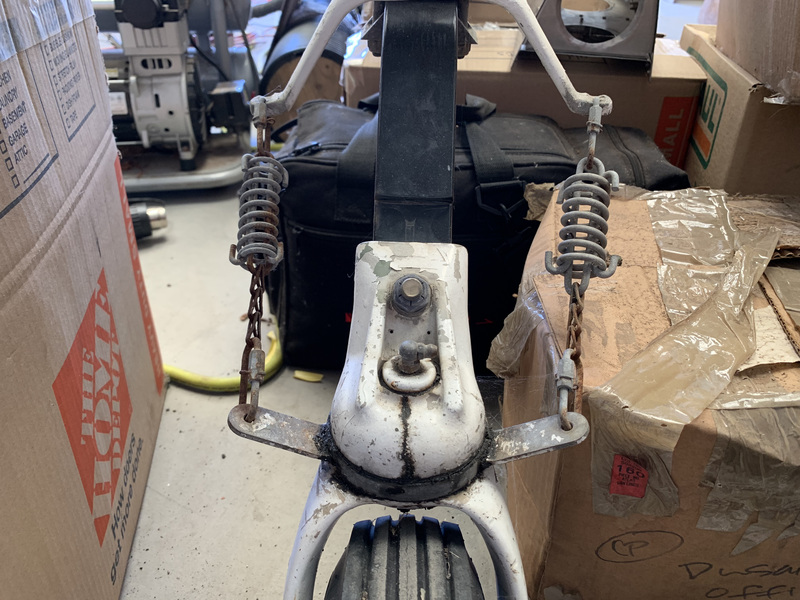
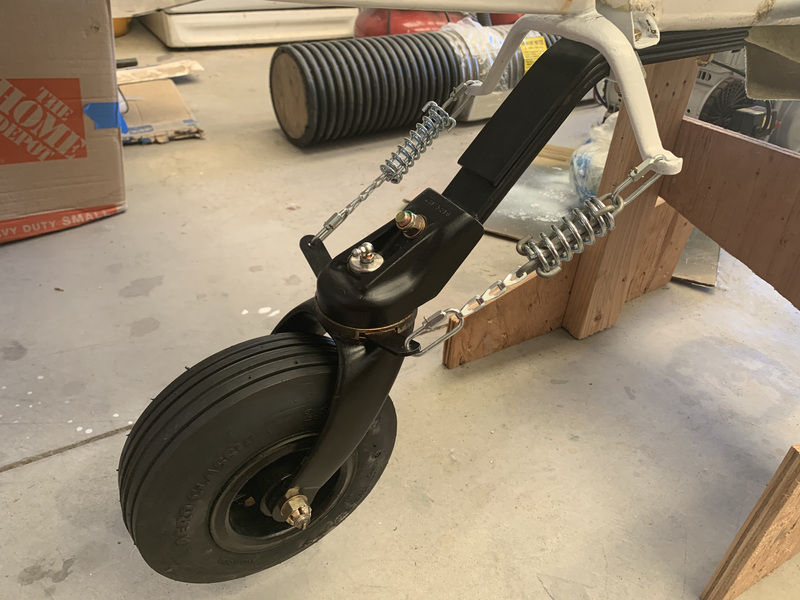
Next up was the tailwheel. I ordered all the parts I needed from Airframes Alaska (the go to folks for Scott 3200 – and many other – tailwheels). They have a 3200 rebuild kit available, so I got that and a new tailwheel head.
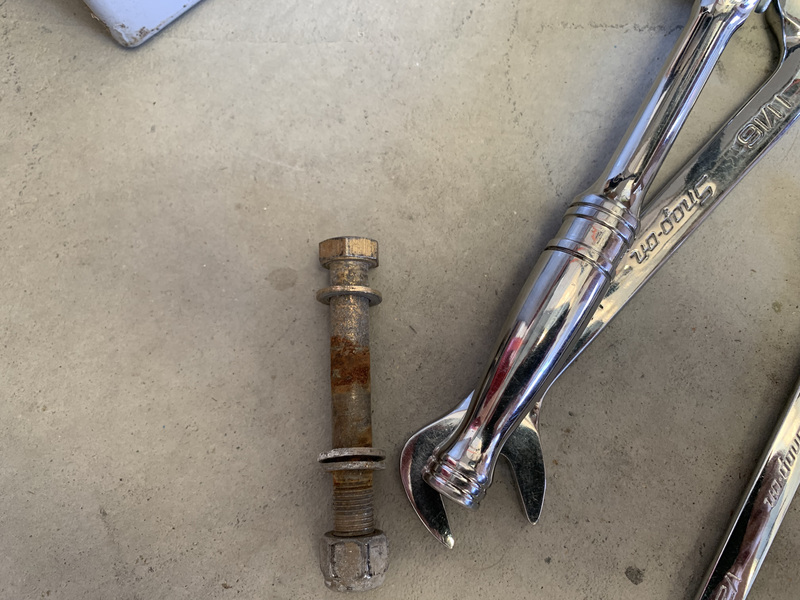
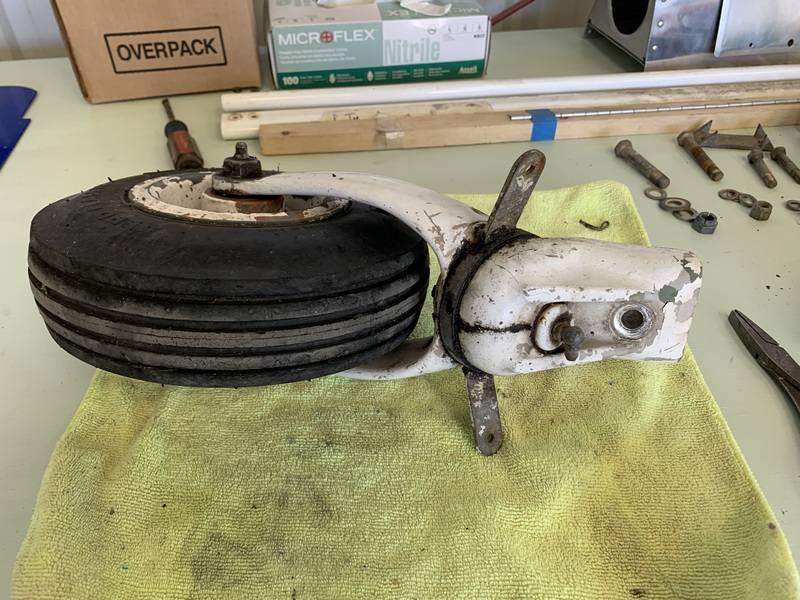
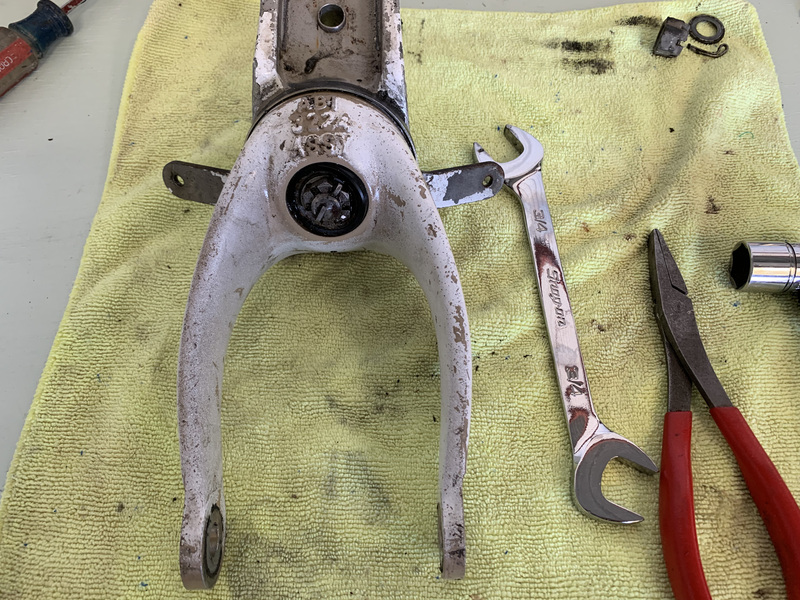
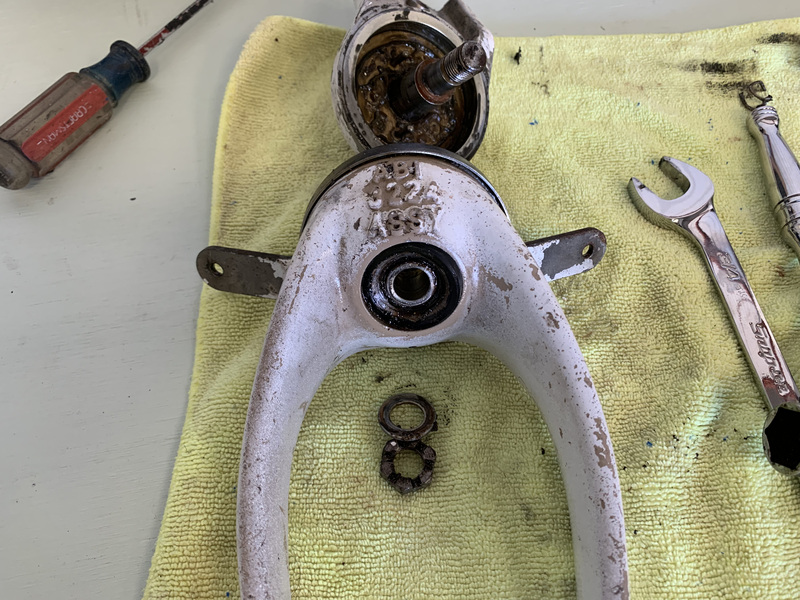
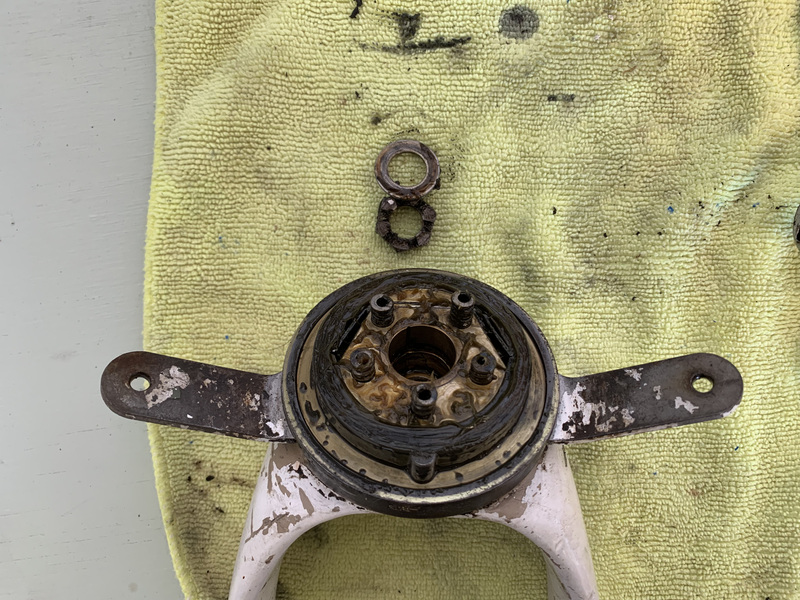
Disassembly was pretty straightforward, although the compression spring is in there a bit tight, so separating the fork and head was more challenging than I anticipated (they should just slide off once the nut is removed).
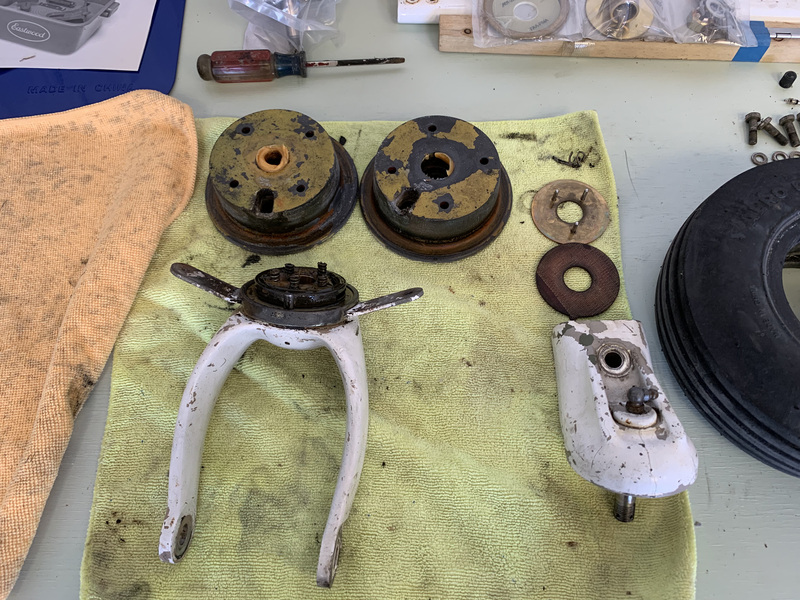
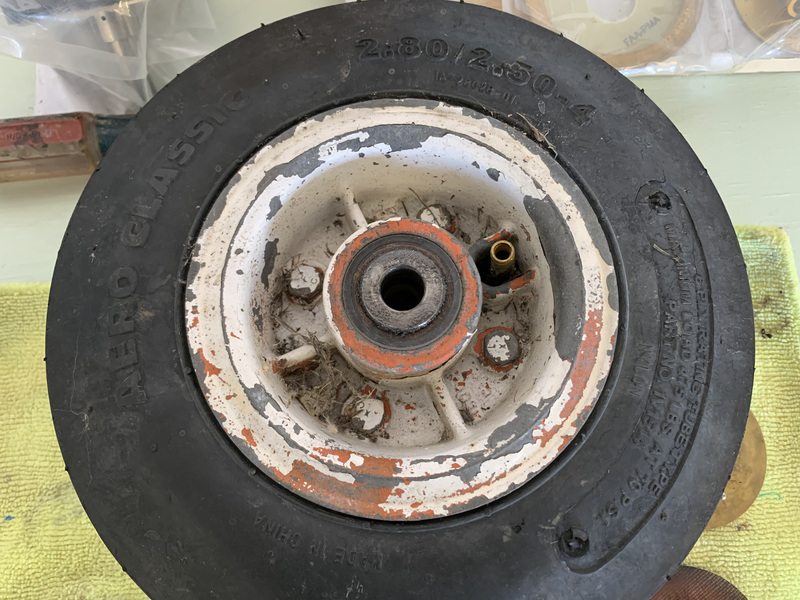

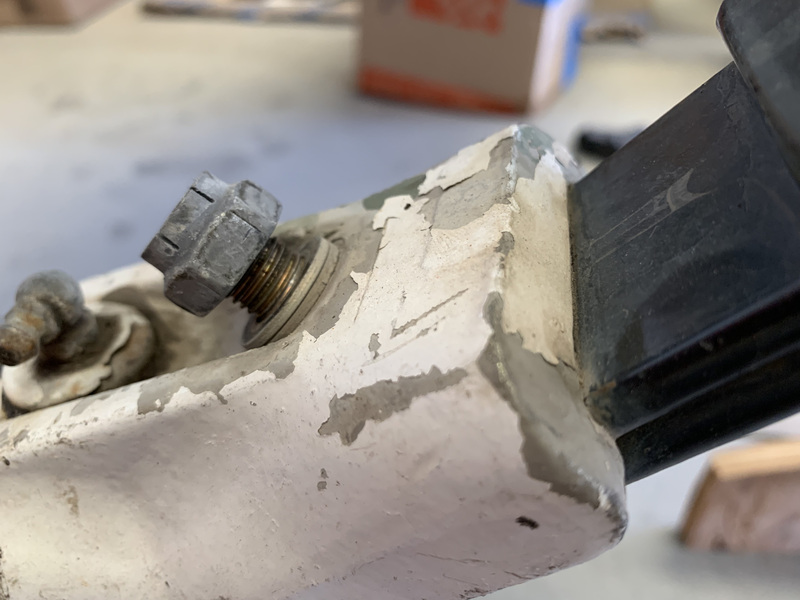
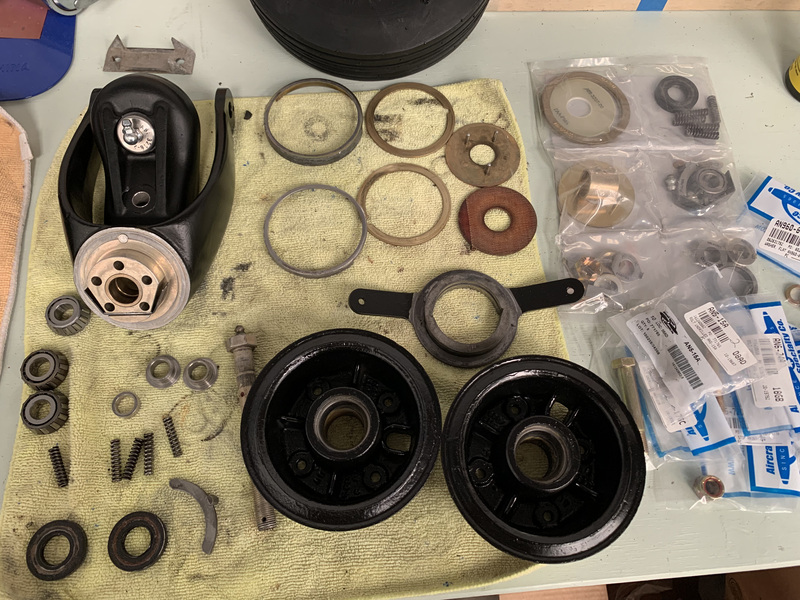
The new tailwheel head arrived painted black already. But, the fork and wheel are white (or rather were once white, and now have a crappy white paint job). So, even though the rest of the aircraft is white, I opted just to make the entire assembly black to match the existing springs and new head. This meant a bunch of fun paint removal, then priming and painting the parts, with plenty of time in between.
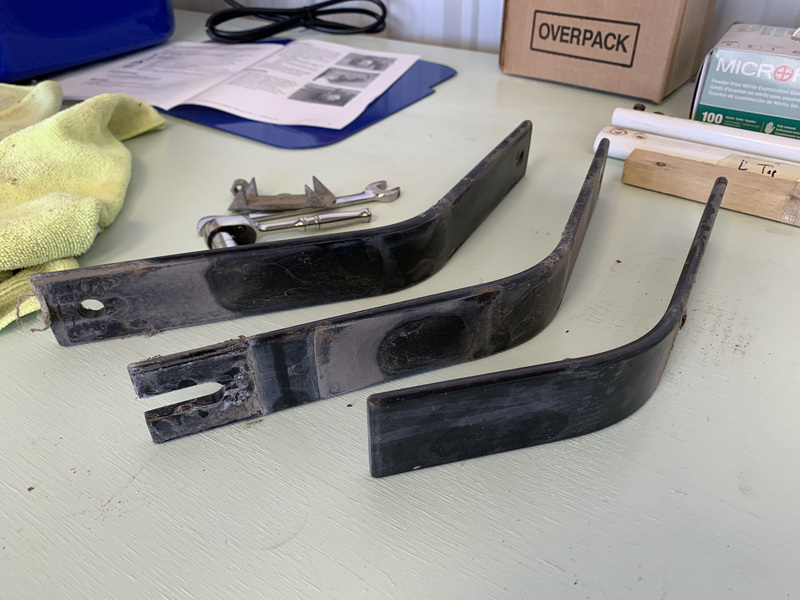
Eventually, I had all the parts cleaned up, inspected, repainted, and ready for assembly.

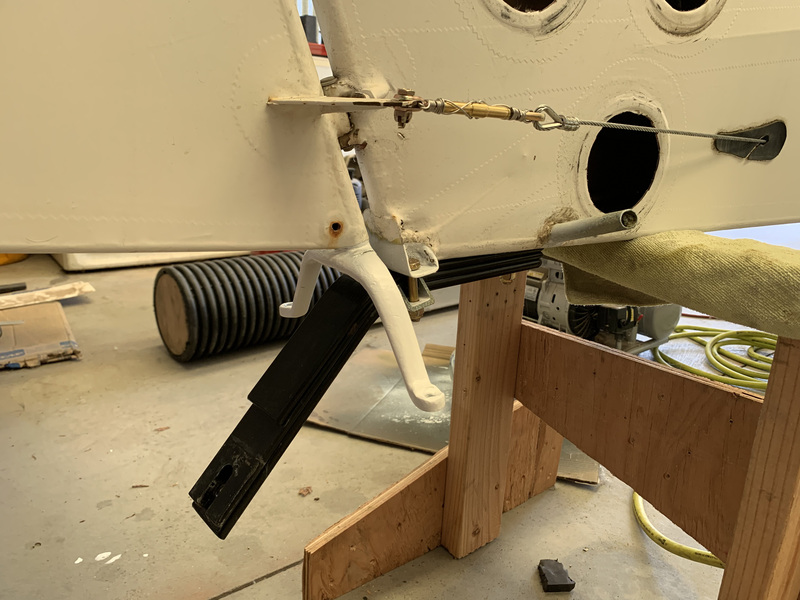
And finally it was time to put it back on the plane.

With that complete, on to the rest of the tasks to get this back up in the air!