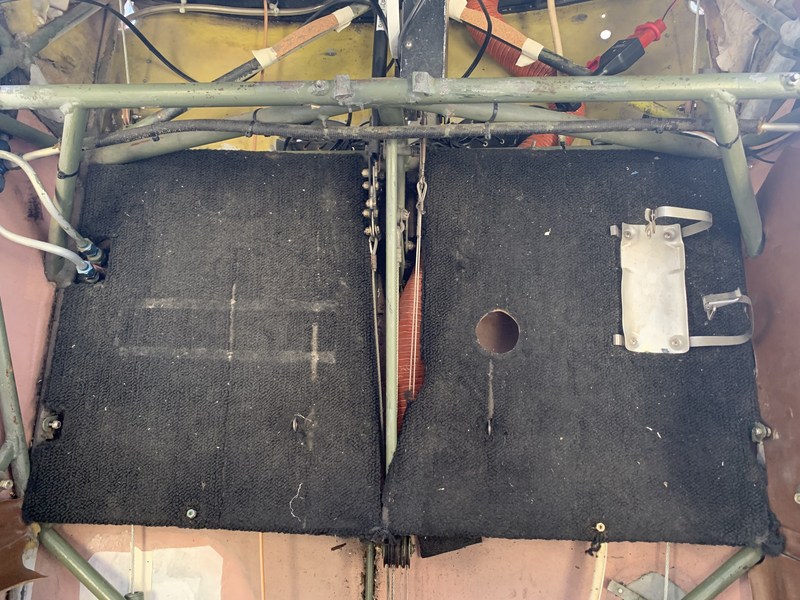
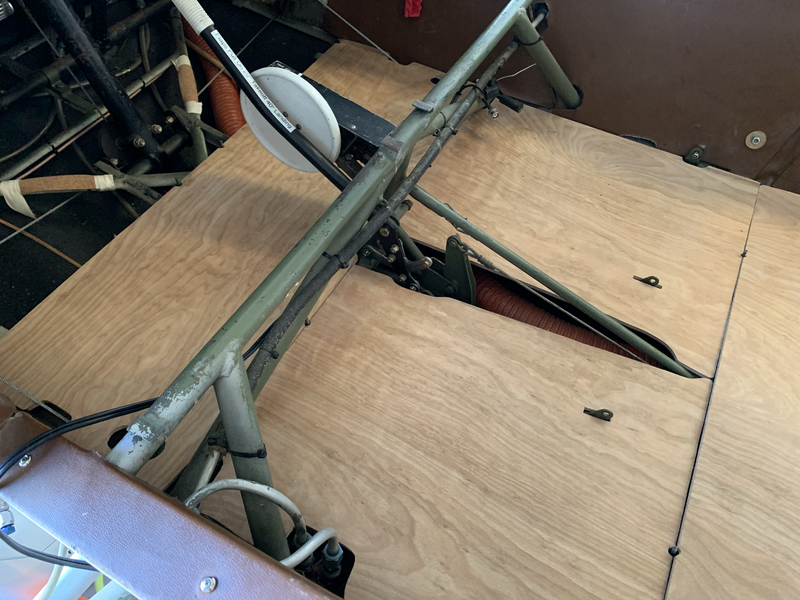
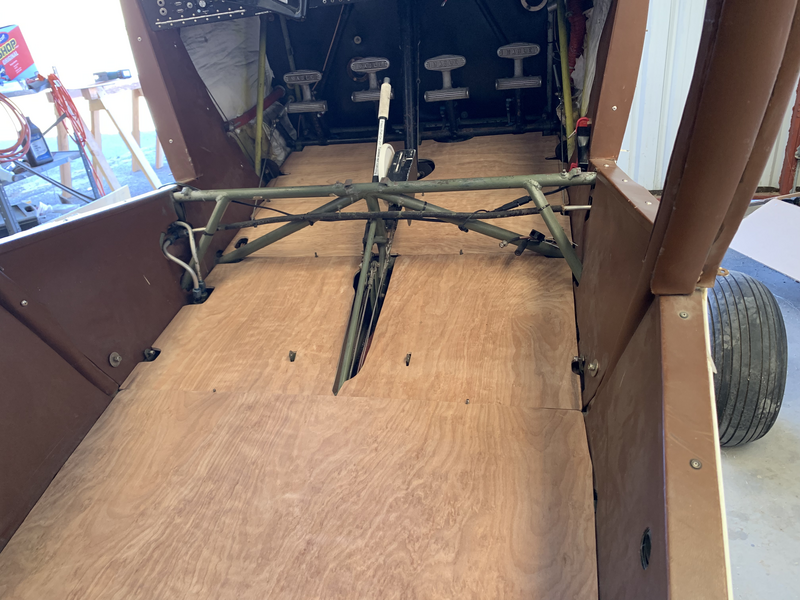
The original floorboards in my plane were in fairly sorry shape. They were doing the job while just flying around, but with the seats out, crawling around in the cockpit, trying to get under the panel, was an exercise in stepping cautiously, lest a knee or elbow break through.
Back when the plane was built in 1978, Maule ordered cheap 3-layer 1/4″ plywood from the local lumberyard, glued some carpet to it, and called it a day. This worked fairly well — the originals lasted more than 40 years — but it’s been apparent for a while that the old boards weren’t going to last much longer.
There’s been plenty of chatter on the internet over the years about replacing floorboards with something better. Some folks have even gone as far as replacing them with honeycomb core composite! But, unless you have access to a nice vacuum bagging system that can handle large panels, that’s a bit difficult to do. And there seems to be a bit of confusion over whether replacing plywood with composite requires a field approval from the local FSDO. (No, I assert: such an owner produced part that’s substantially the same as the original would be just a minor alteration to install.)
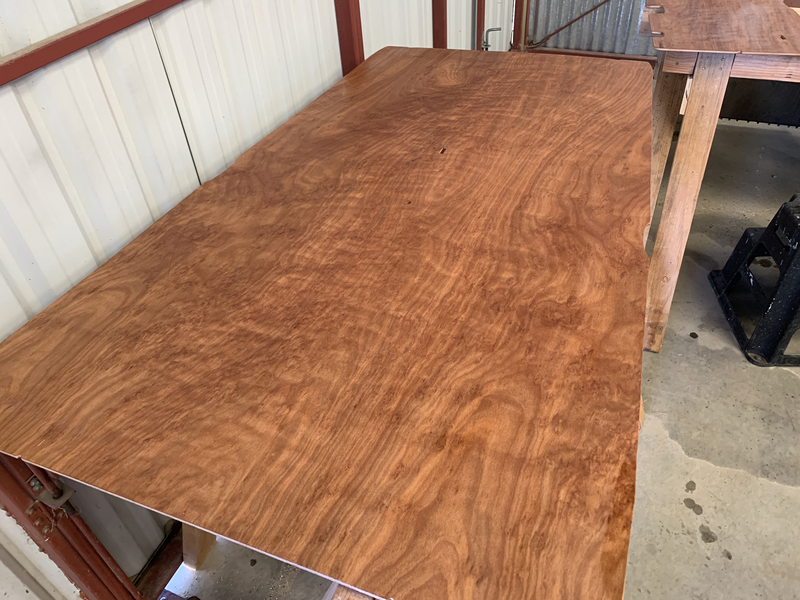
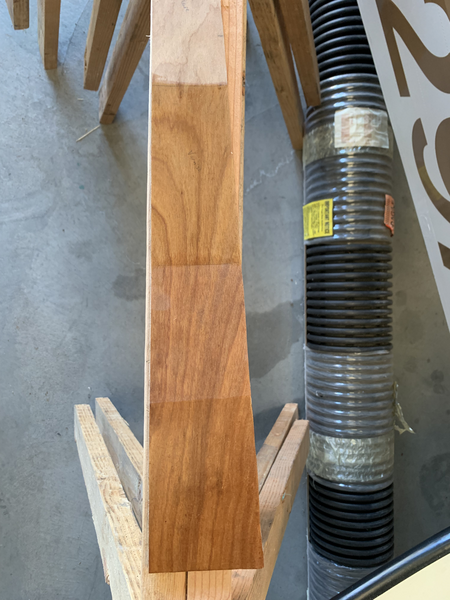
I considered various options, and eventually decided on just replacing with plywood, but without the carpet this time. And rather than cheap hardware store plywood, I sprung for MIL-P-6070 plywood: 5 ply, 1/4″, mahogany-faced poplar. This stuff can be used in structural applications, and it really just looks nice.
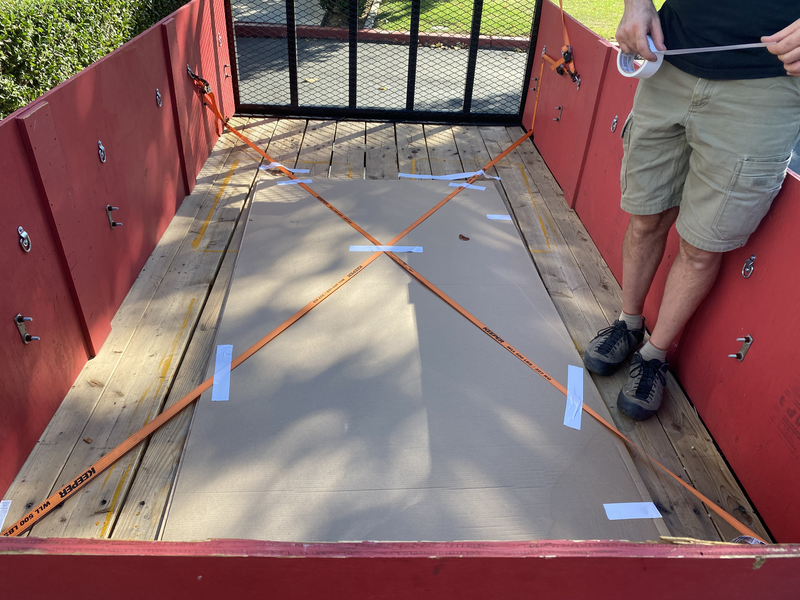
Since I ordered a full sheet, we took a drive down to Aircraft Spruce in Corona to pick it up (freight was breathtakingly expensive). Aside from some of the most heinous traffic imaginable on the way home (a brush fire at Cajon Pass just before rush hour kept a couple of lanes closed), it was a nice trip, and nice to actually visit Spruce.
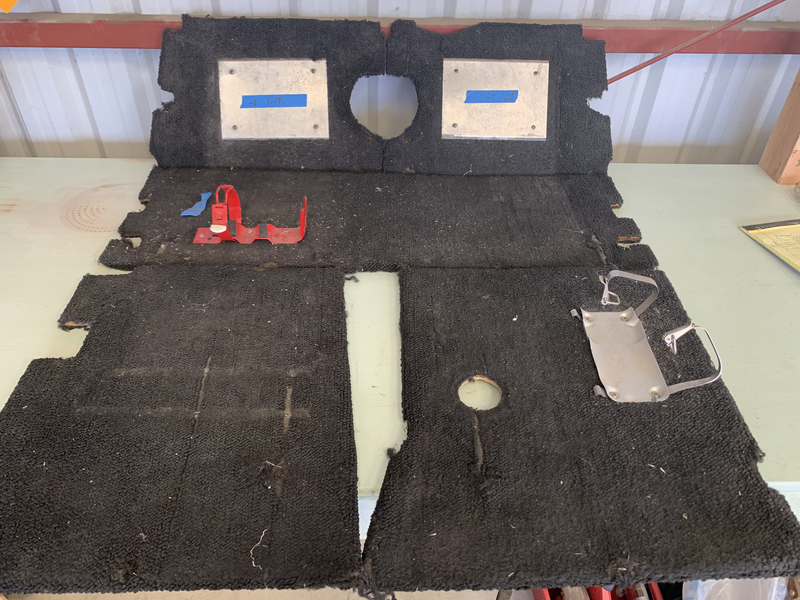
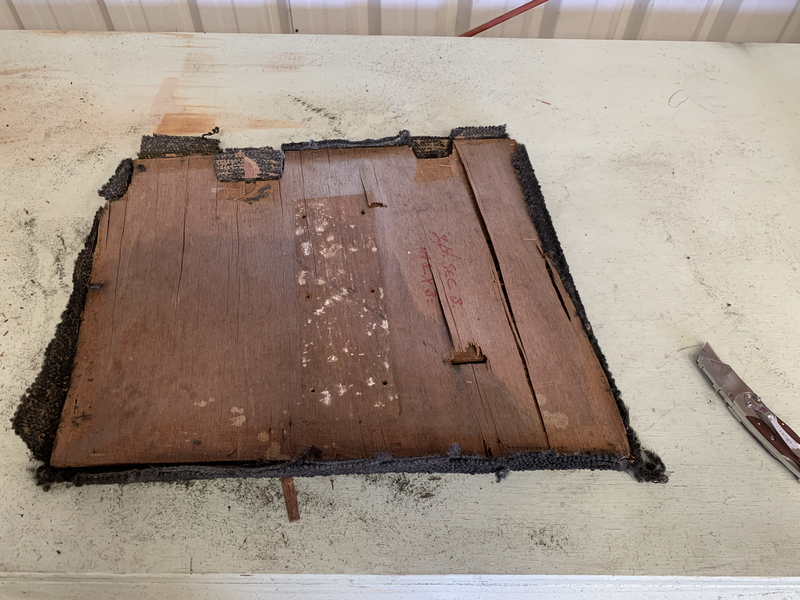
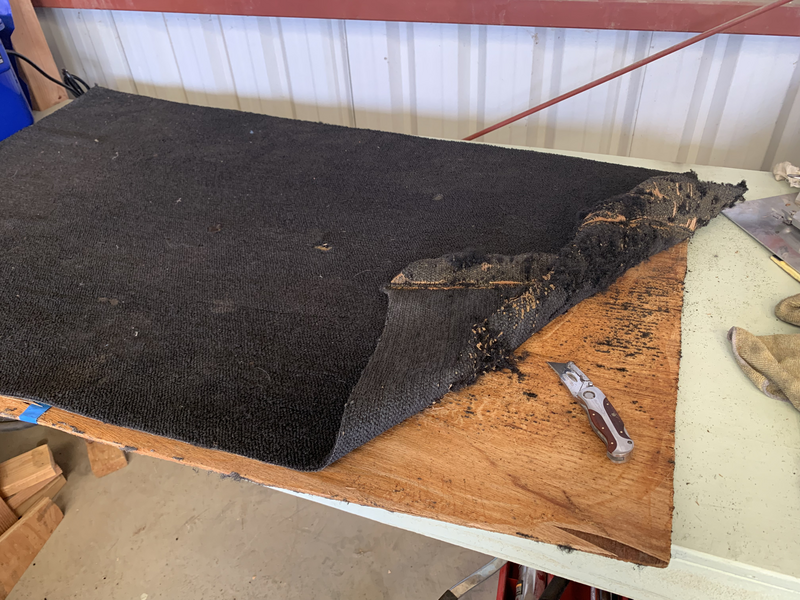
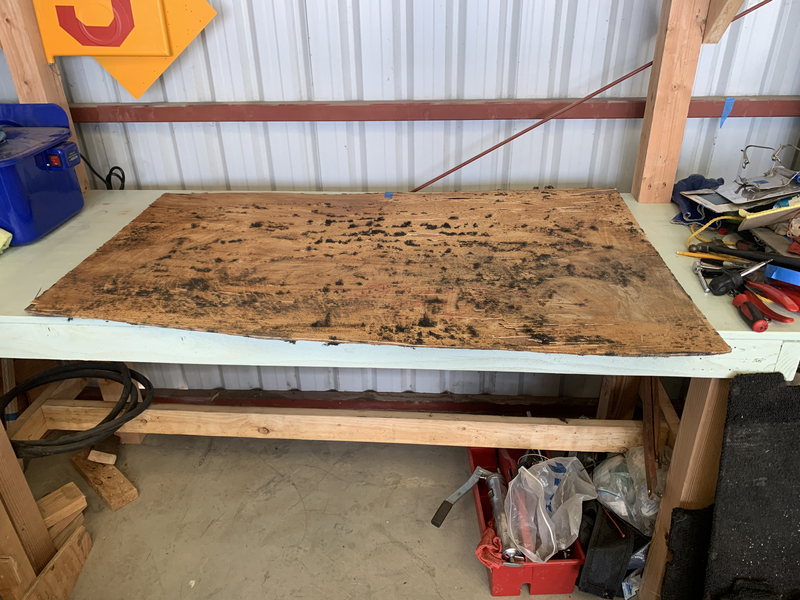
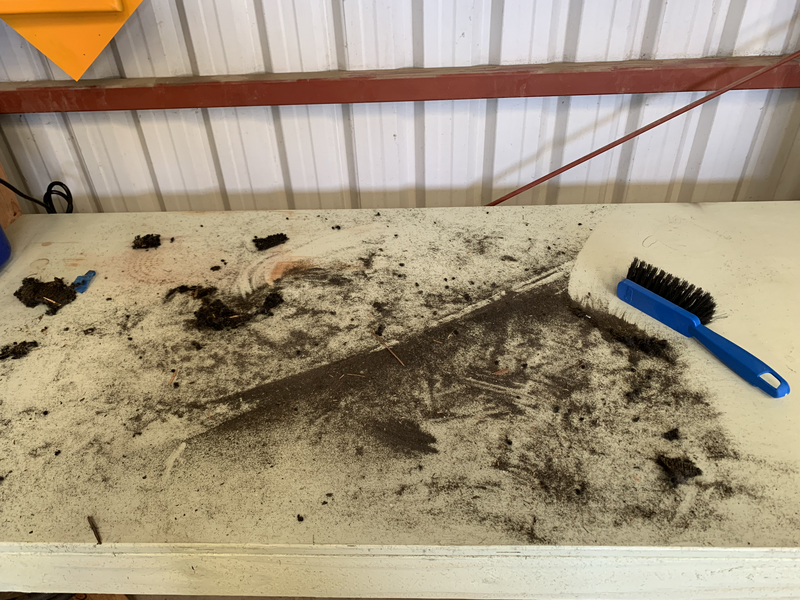
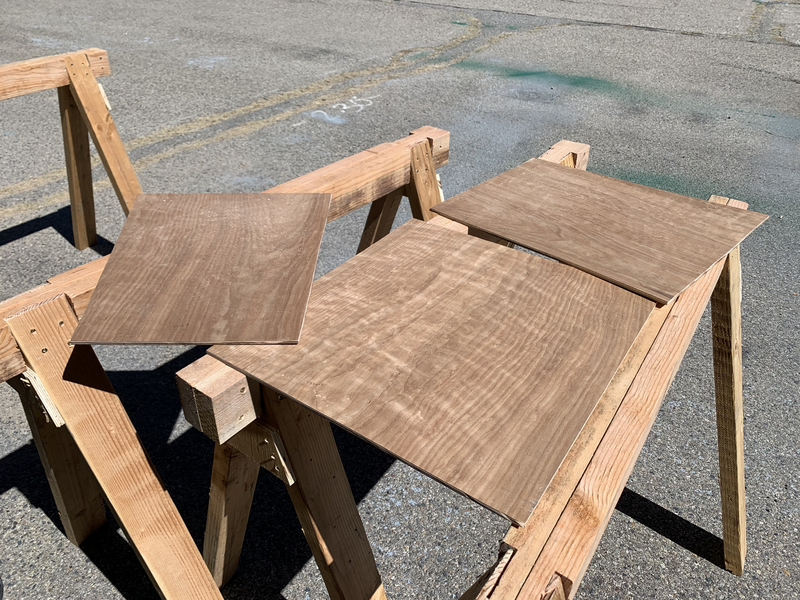
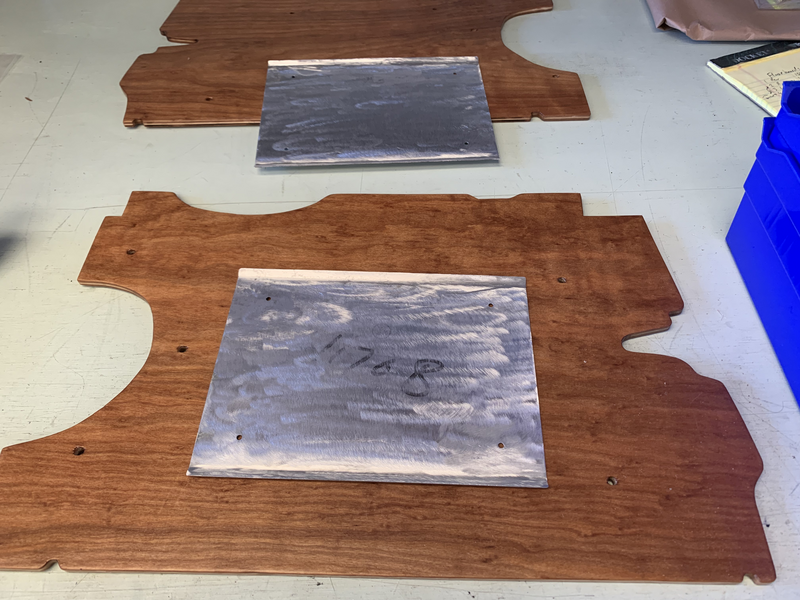
I then began the tedious process of actually fabricating the replacements. First I had to take the carpet off the old boards so I could use them as templates. Chunks fell off of some of the boards, so I had to tape them in place.
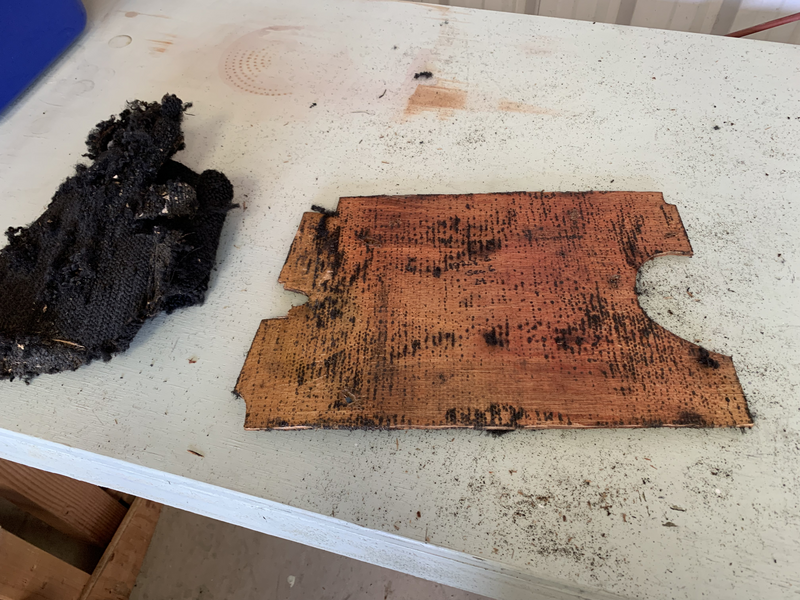

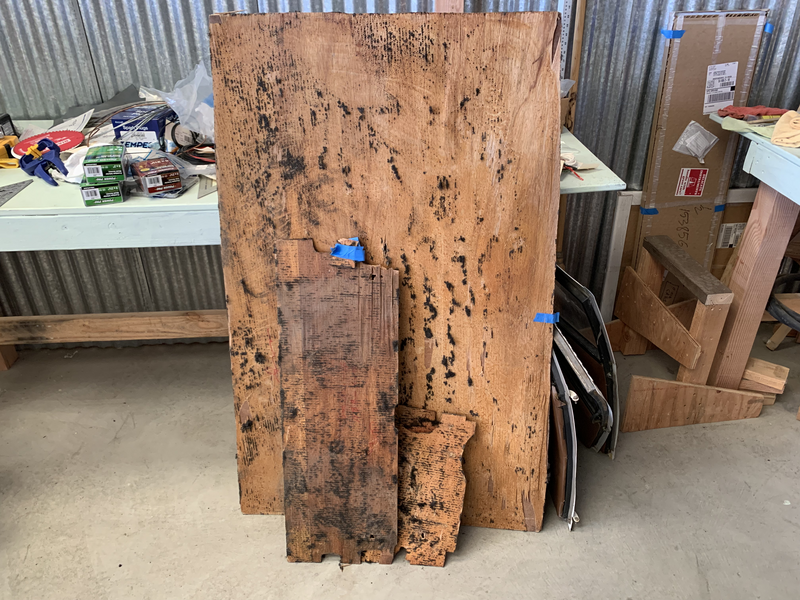
At long last, I had a bunch of rough templates, so tracing them out onto cardboard and fitting into the plane could begin.
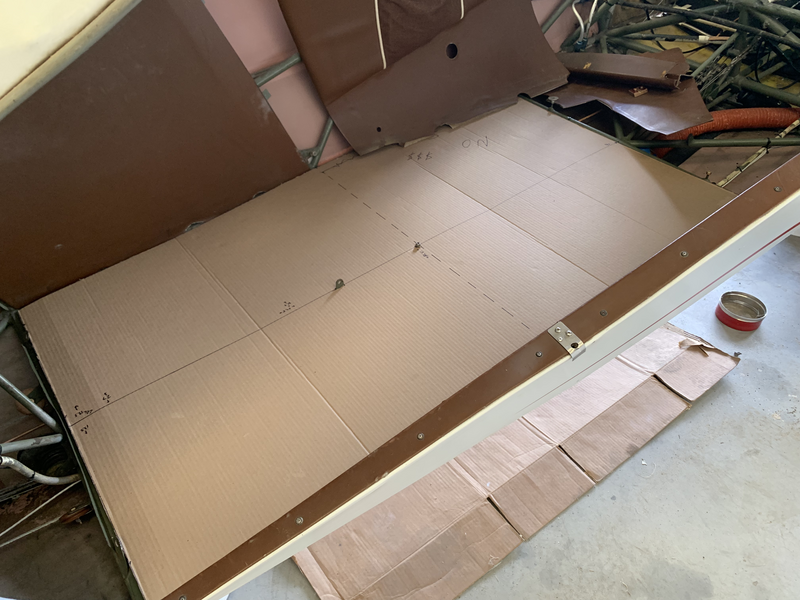
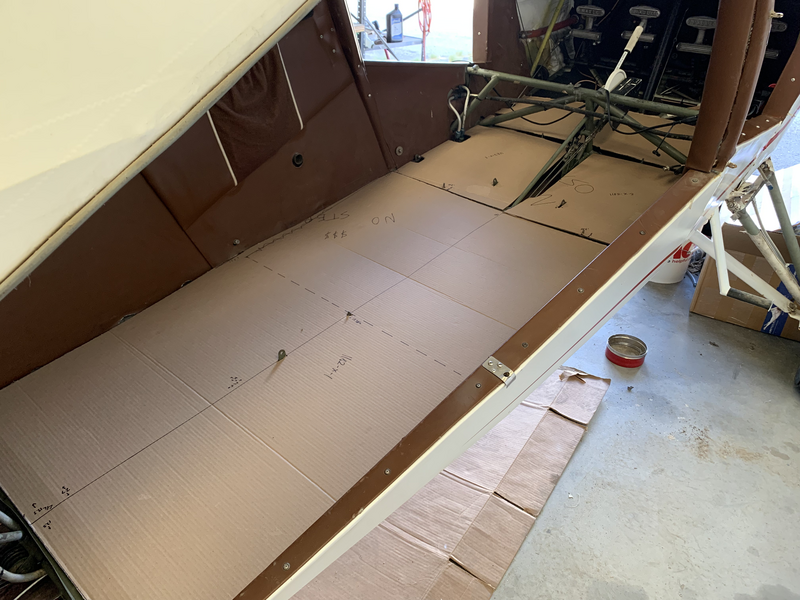

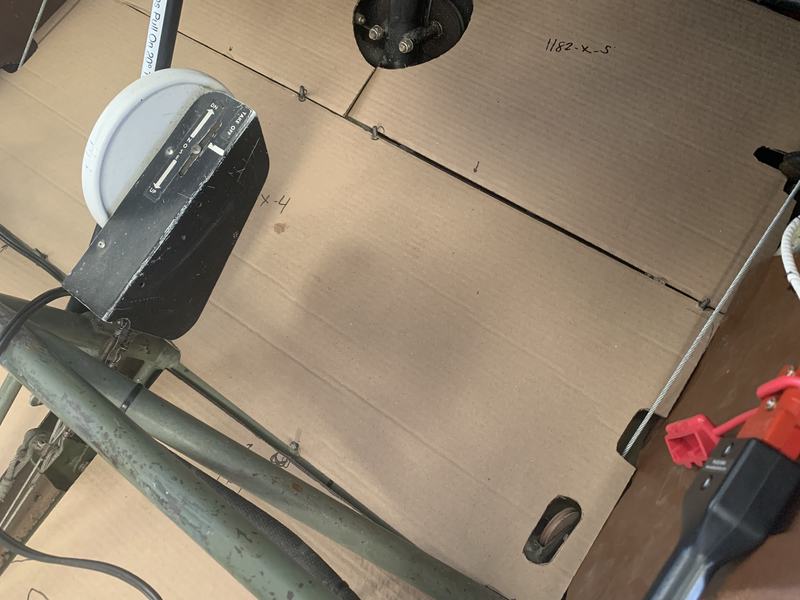
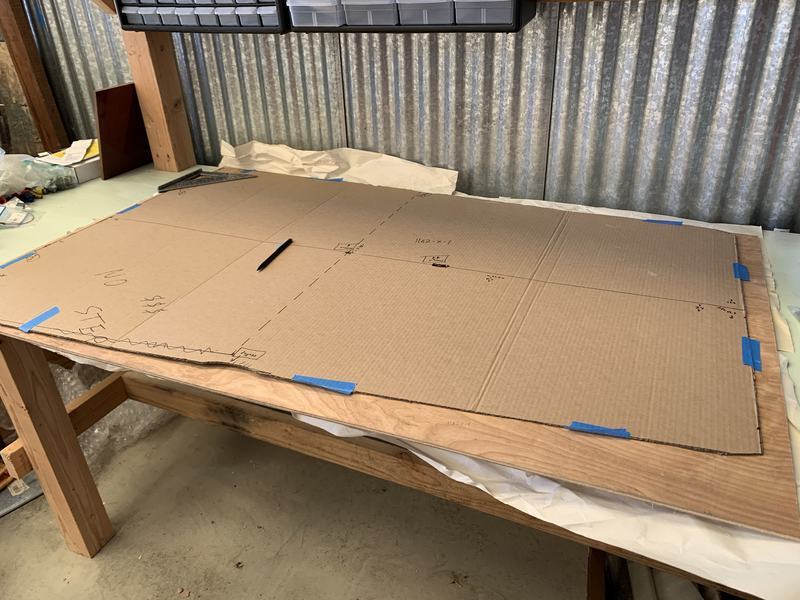
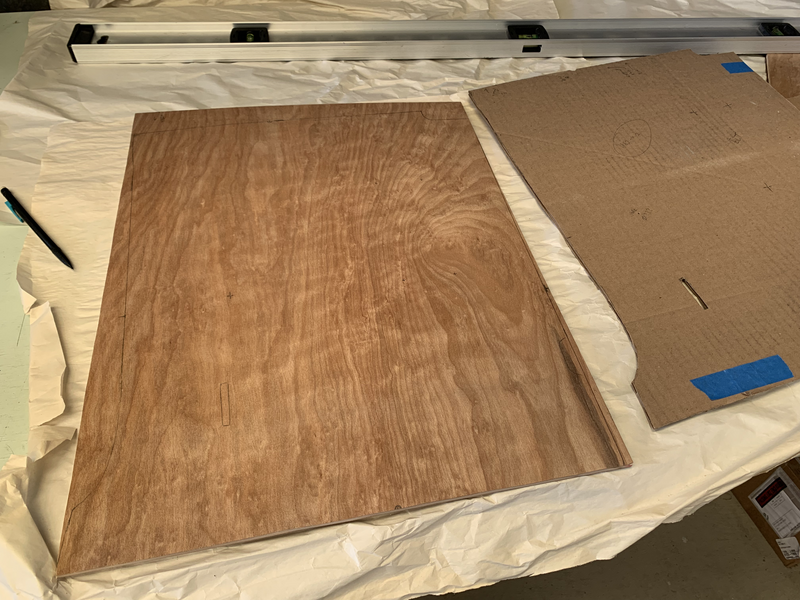
For each board, I roughly traced the plywood onto cardboard, punching through whenever there would have to be a penetration of some sort (screw hole, access to mounting brackets, etc). Then I cut out the cardboard a little loosely, and tried to get it to fit into place in the plane. Any bits that were too large, I annotated, then removed the panel and cut them off. Once it seated correctly, I annotated all the parts that were too small, fit too tightly, or required some other adjustment.
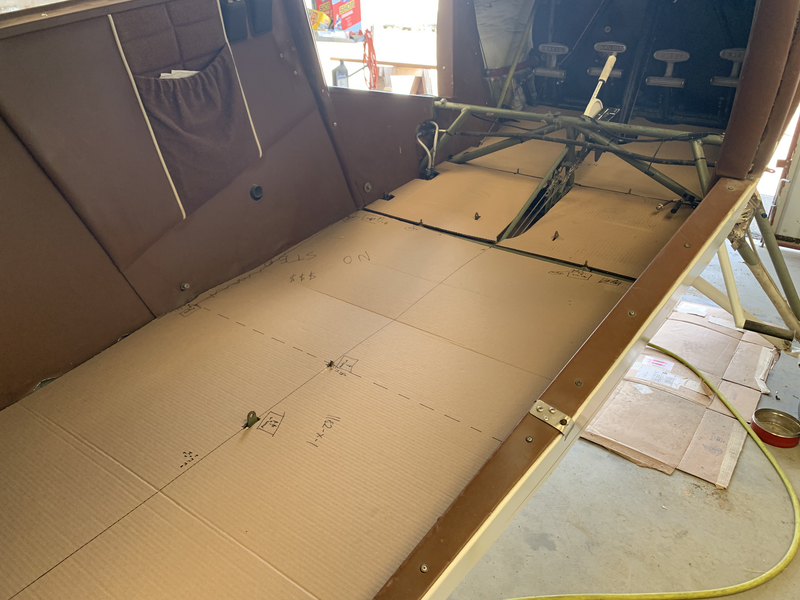
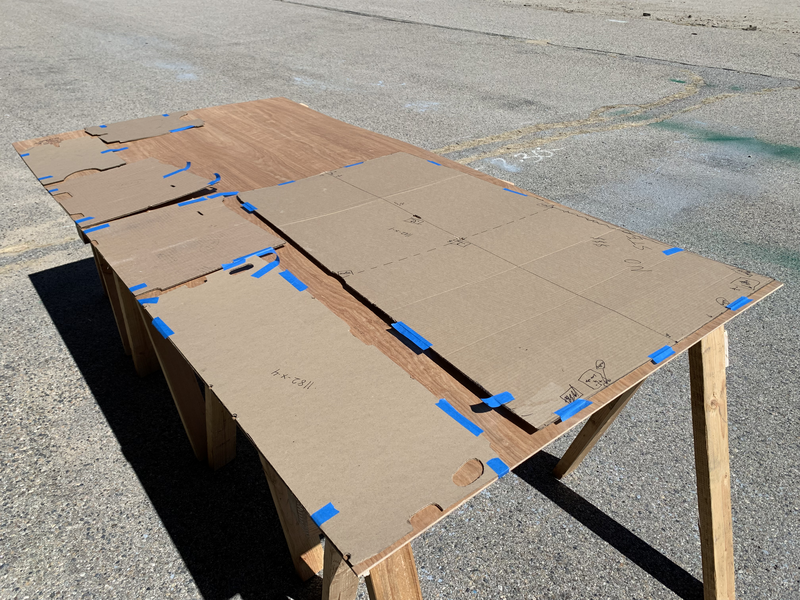
All six panels got this treatment, and then I checked the fit of all together. Once that worked, I then used those to create a second set of cardboard templates with hopefully final dimensions.
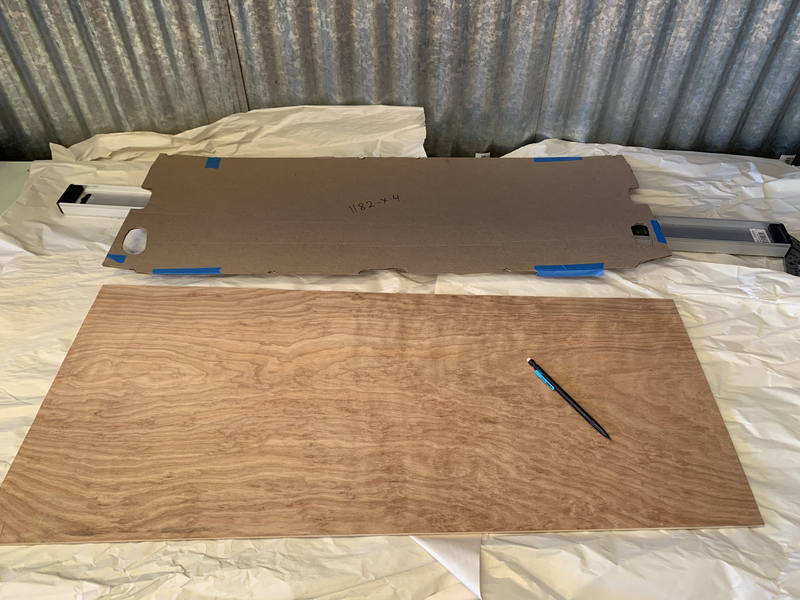
These final templates only required a small amount of adjustment. Once done, I started laying out the shapes on the plywood.
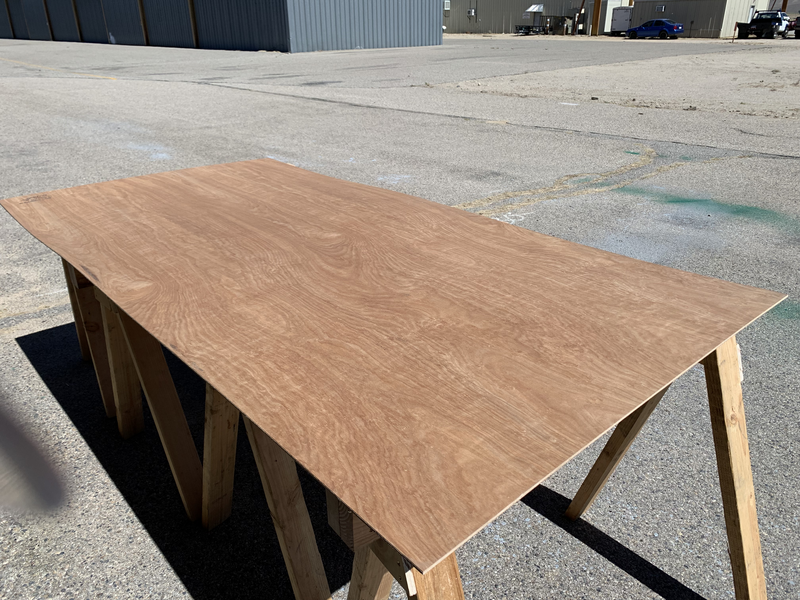
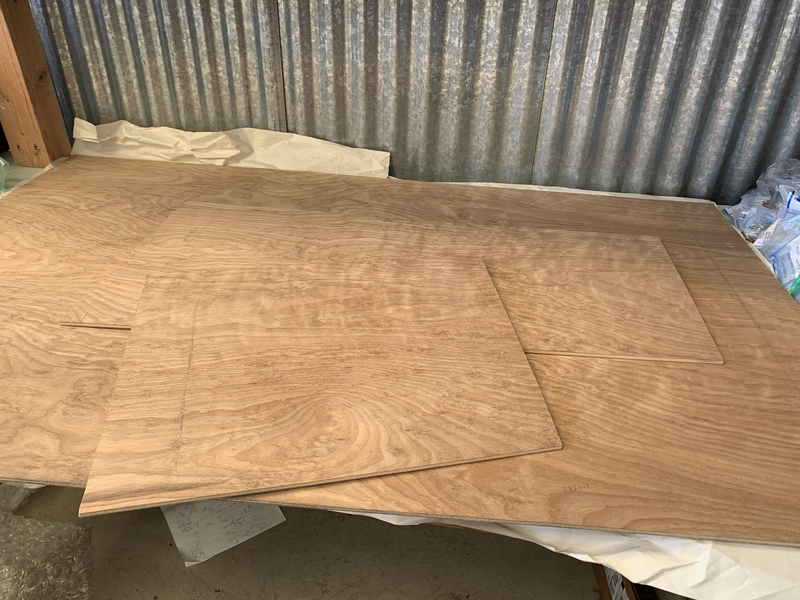
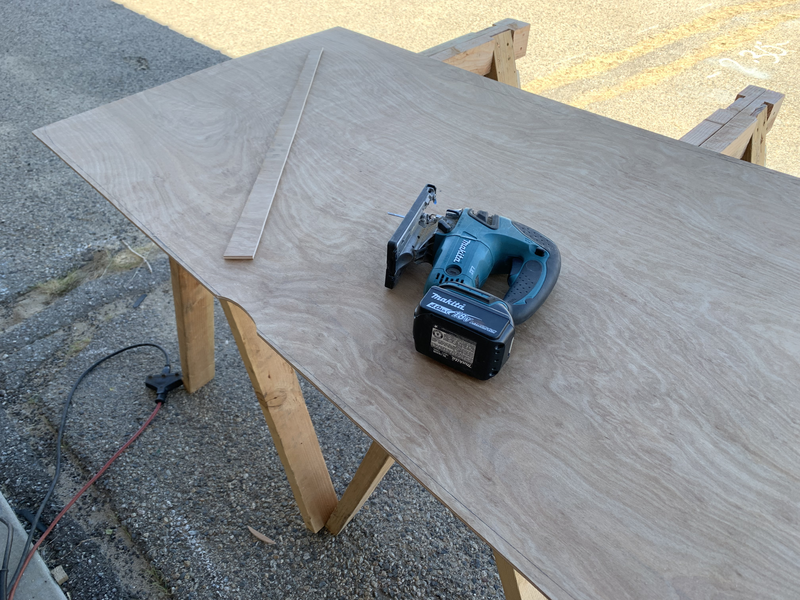
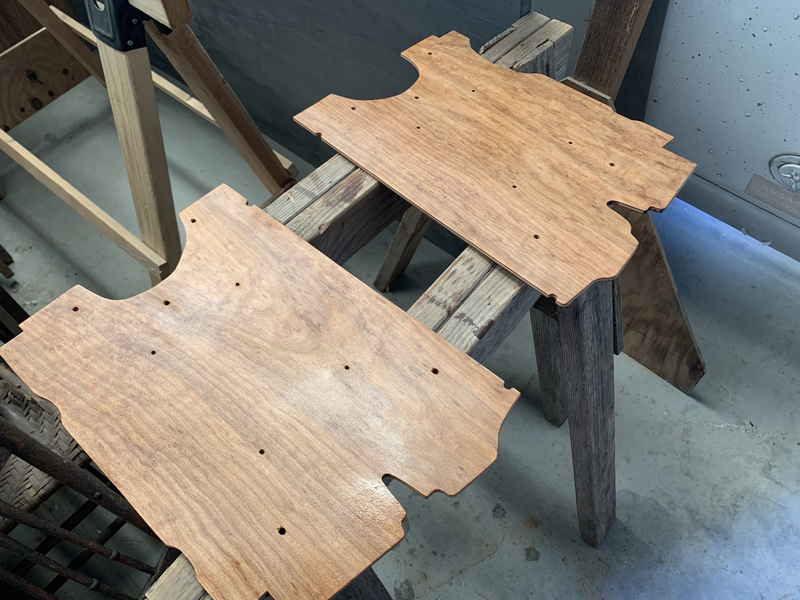
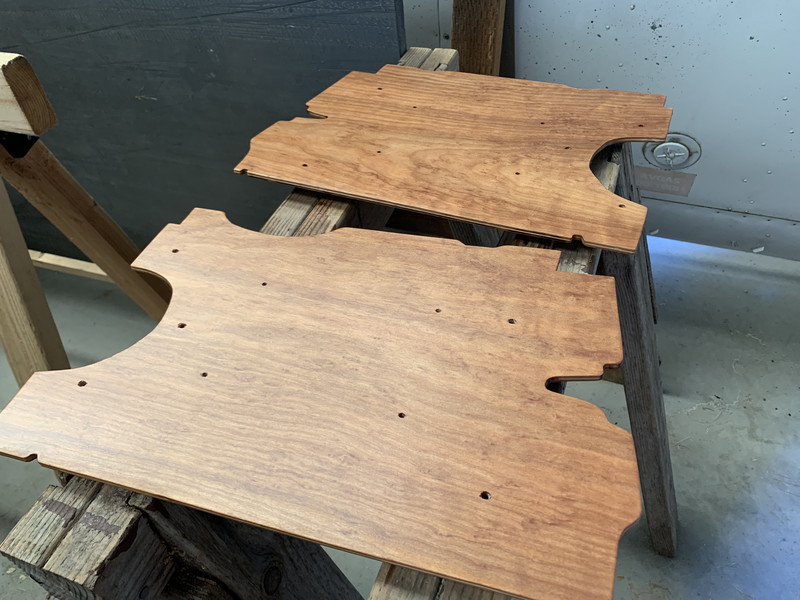
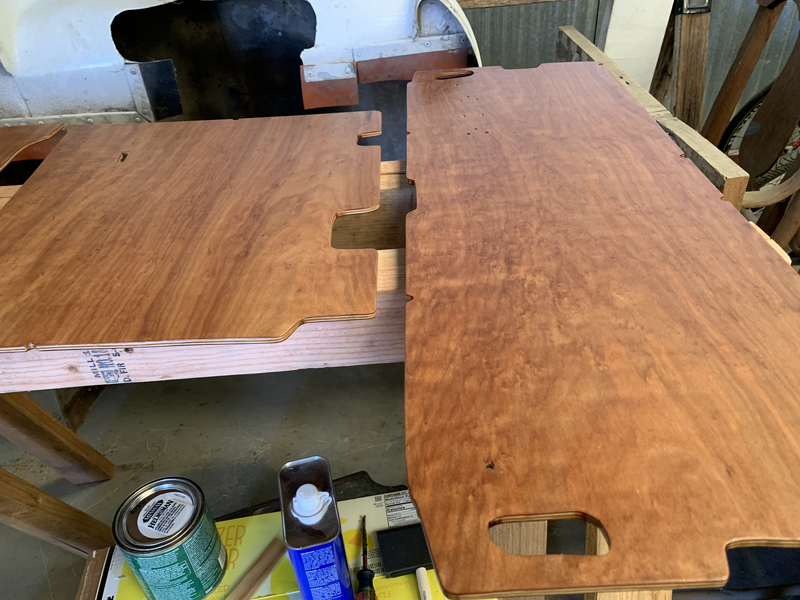
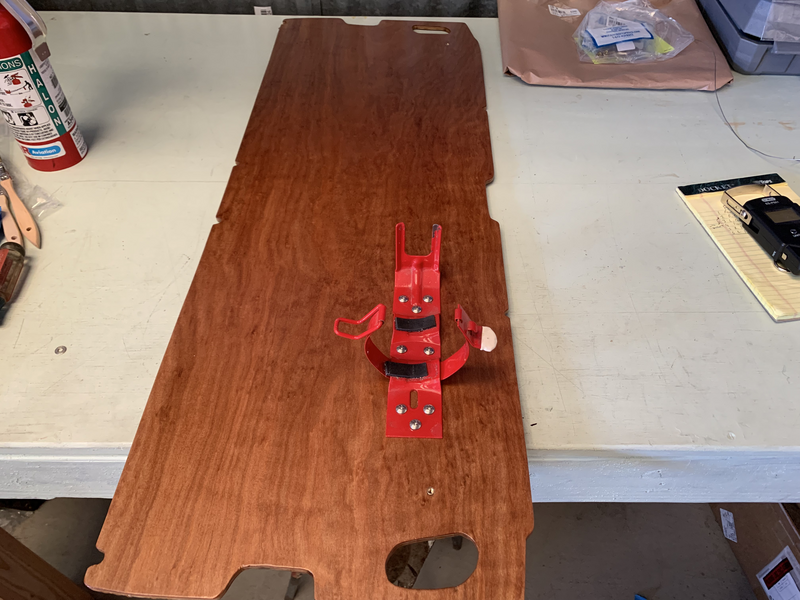
I first cut out rough shapes with a Skilsaw and a fine-toothed blade. Then I switched to a jigsaw with a fine-toothed blade for the final outline cuts. I checked the fit of all six, and made a series of fine adjustments (mainly things like cuts around hold-downs). And finally, I rounded all the corners and edges, and sanded the surfaces with 220 grit.

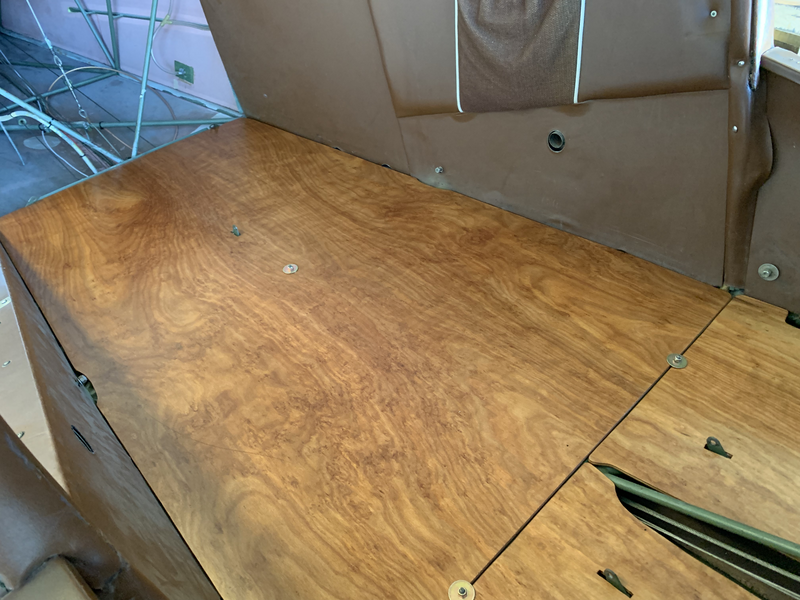
Once these were in their final form, it was time to seal. I chose to use two coats of danish oil, then three of marine spar varnish. The two together should make a robust and water-resistant coating that will protect the wood for years to come.
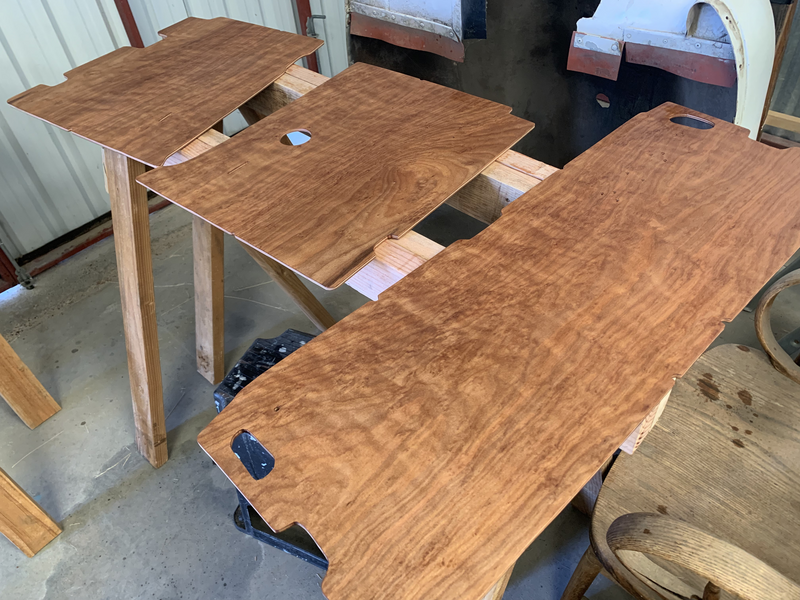

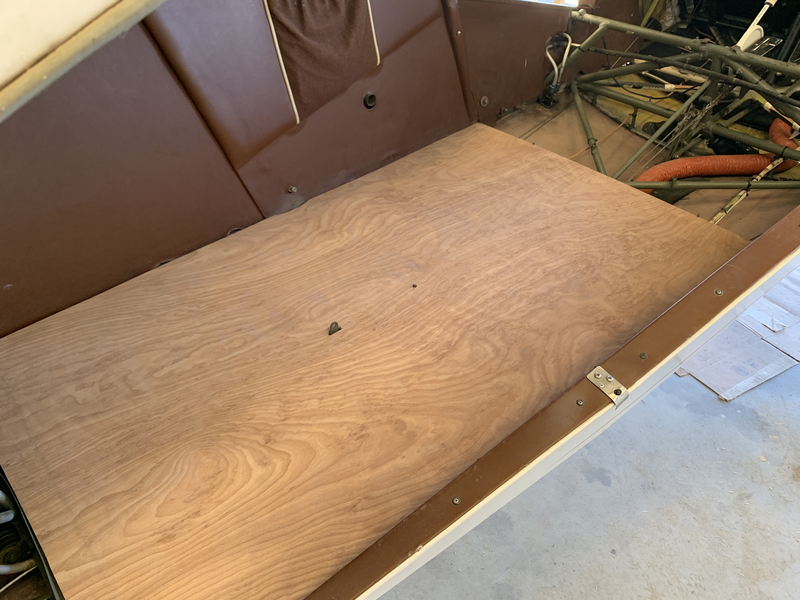
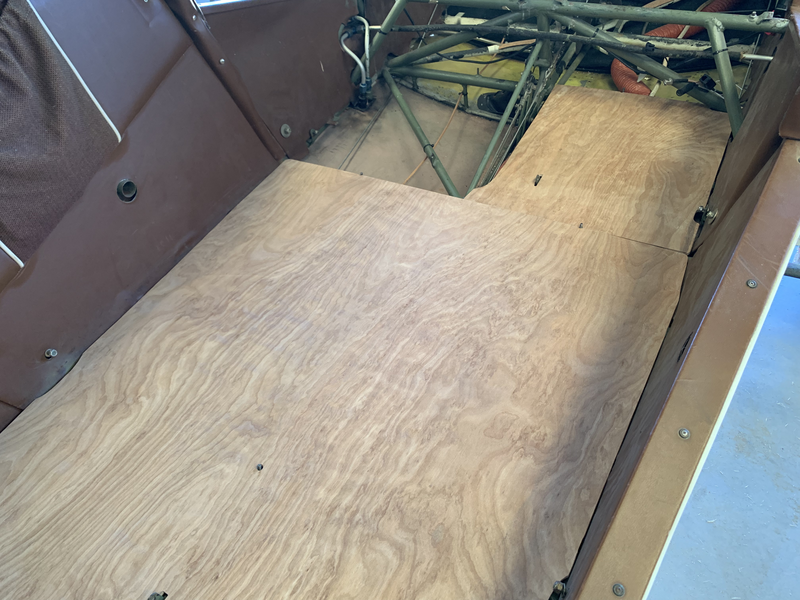
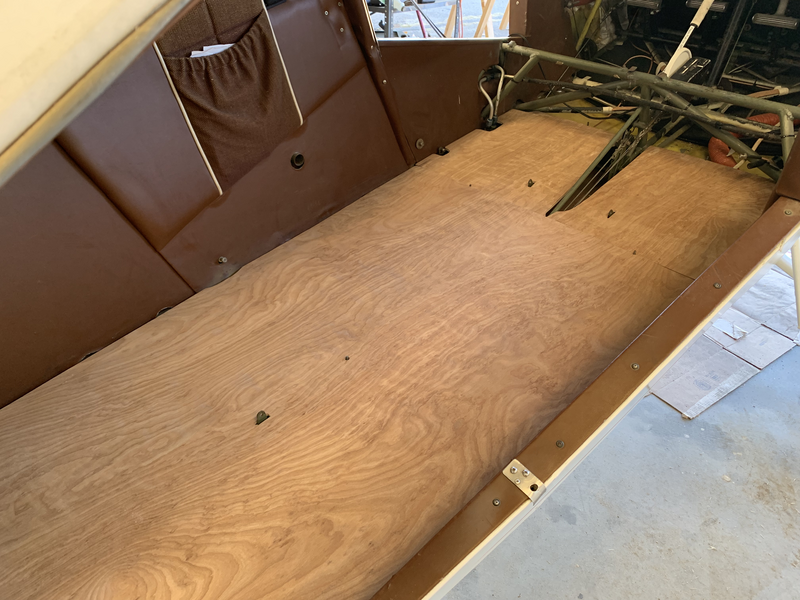
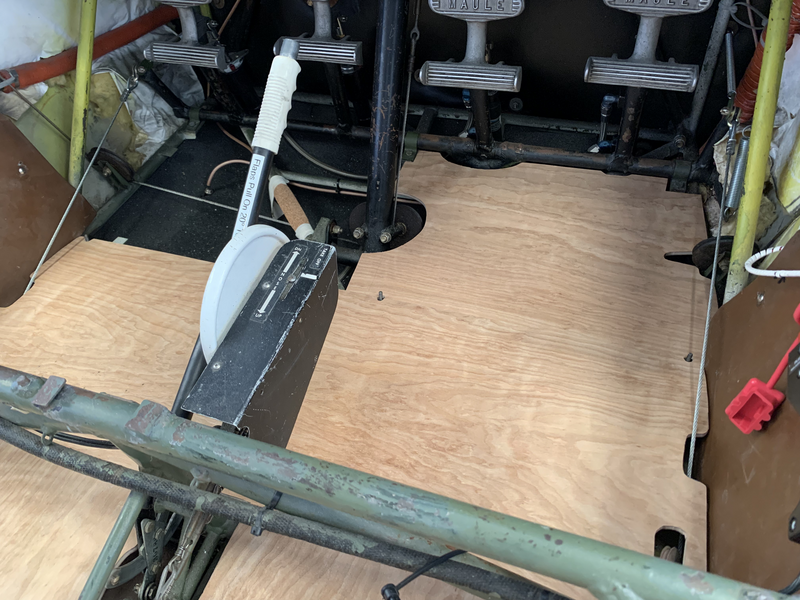
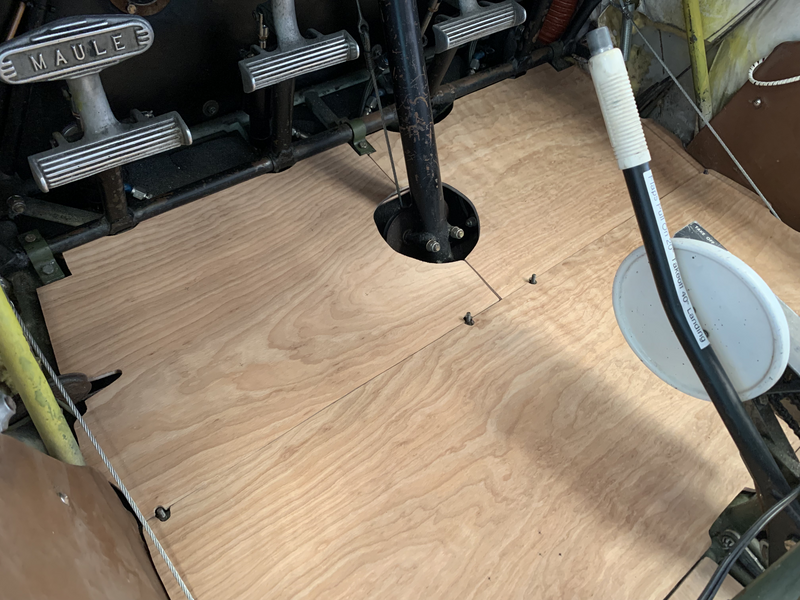
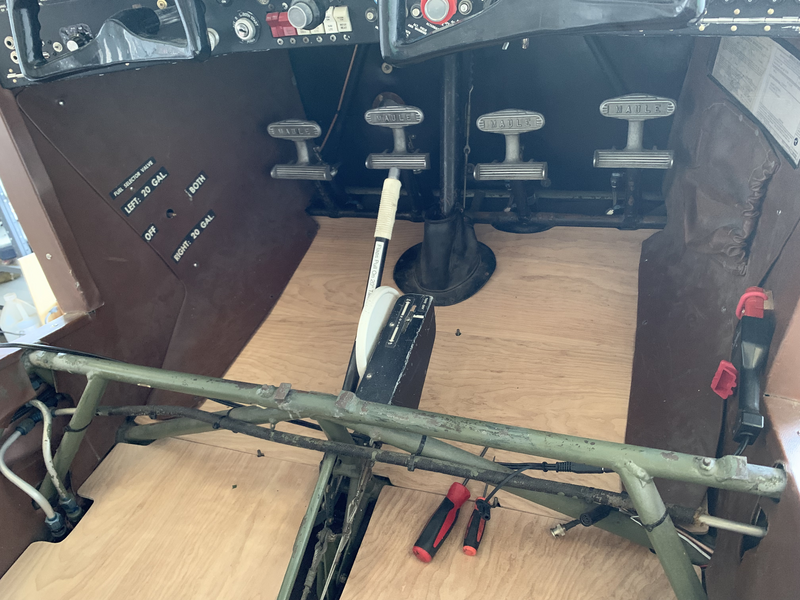
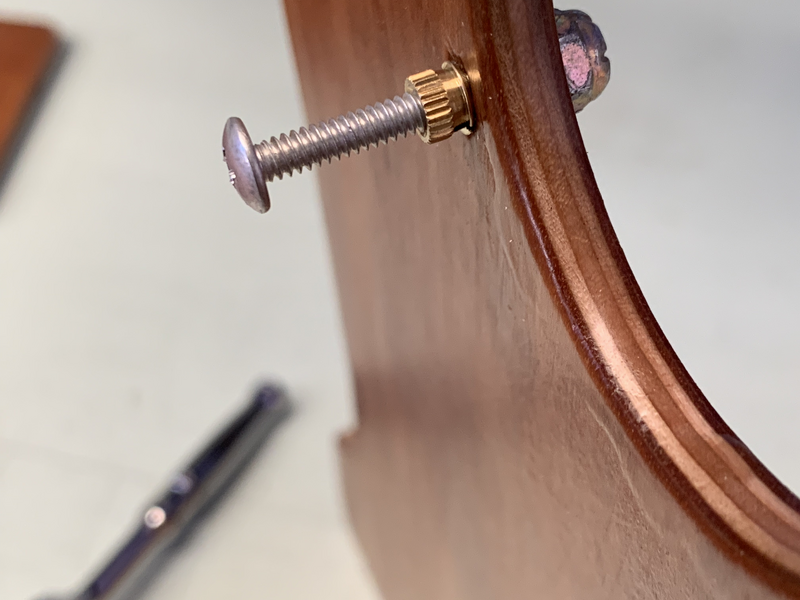
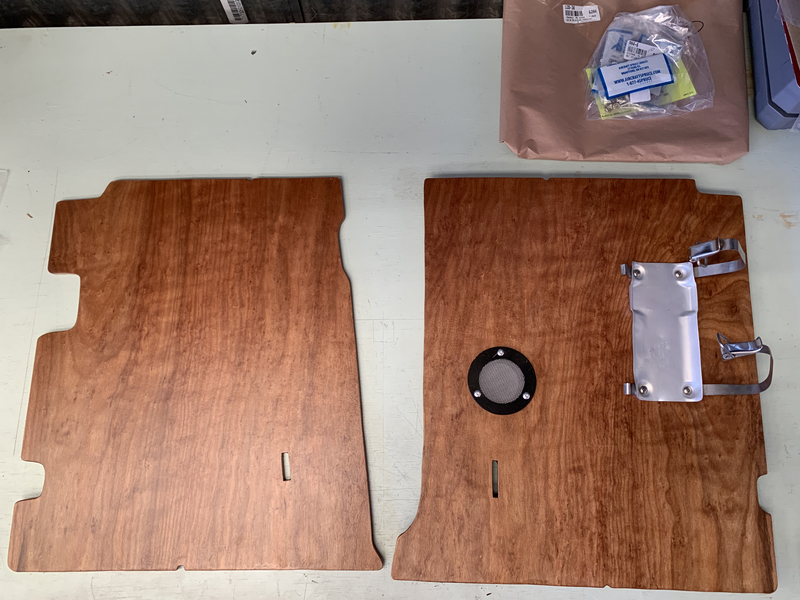
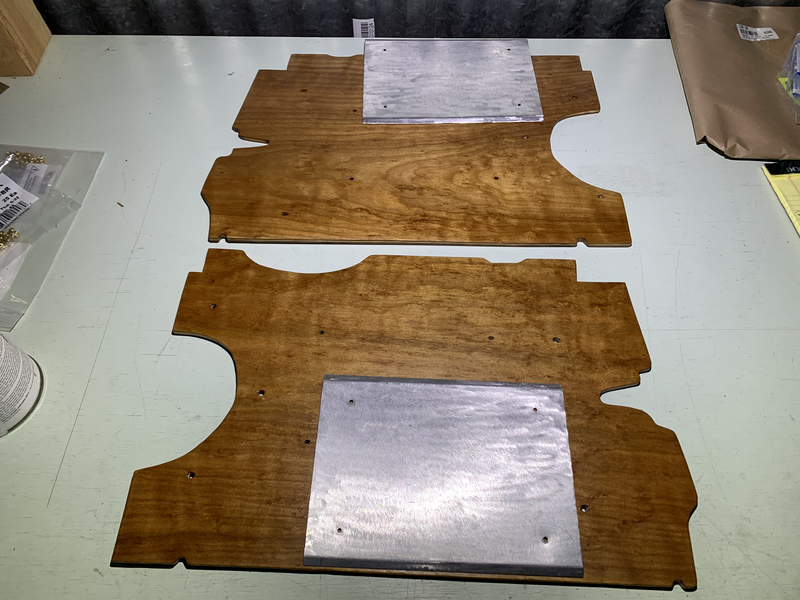
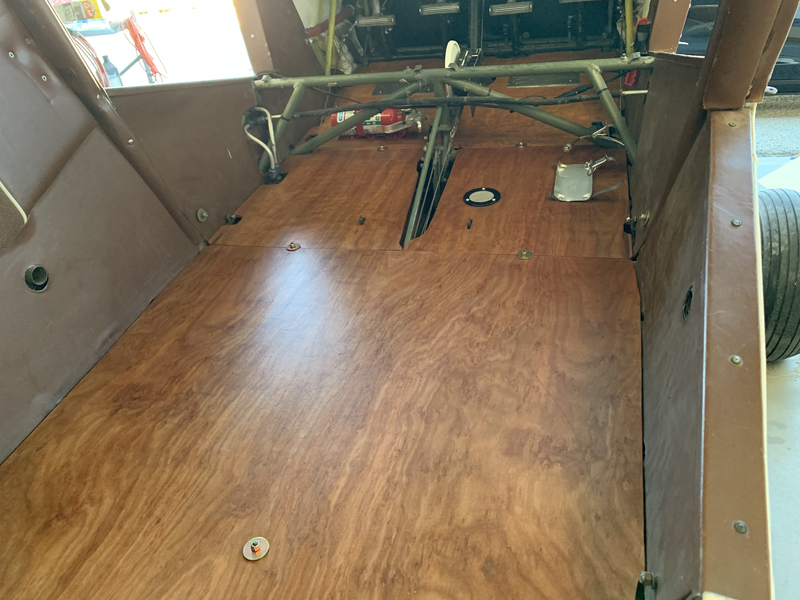
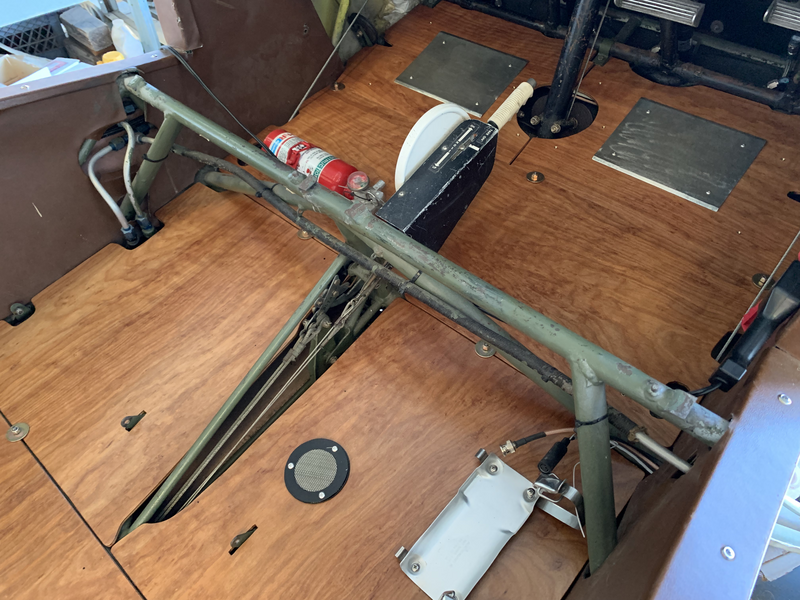
After all the layers of varnish had cured enough, it was time to install hardware. Before, sheet metal screws were used to hold anything to the panels. But over the years, this had caused damage and tearout to the wood. Instead, I used threaded inserts designed for use in plywood. Then machine screws could be used instead. And then, finally, all the brackets and such could be remounted, and the floorboards could finally be put back in place.
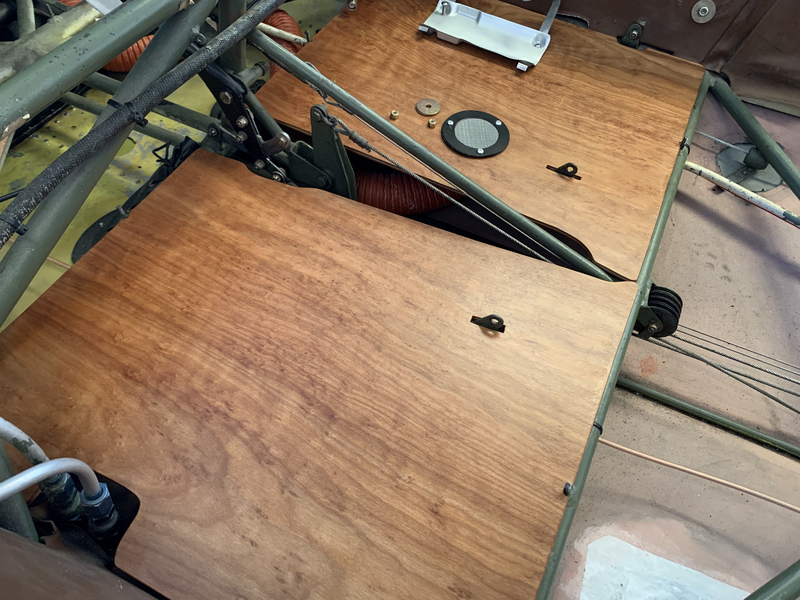
This turned out to take a bit more time than I expected, but the results are spectacular.
This is an amazing play-by-play of this process! Thanks for sharing, Jon 🙂
Thanks!