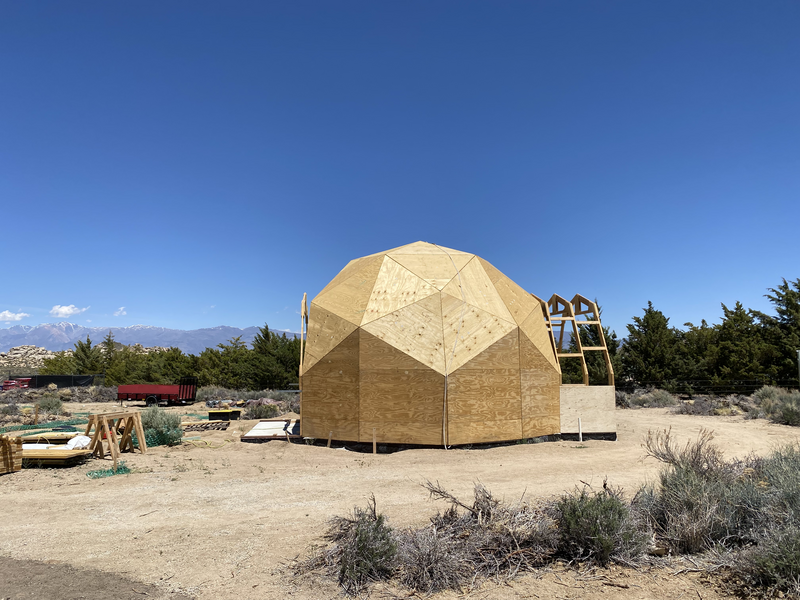
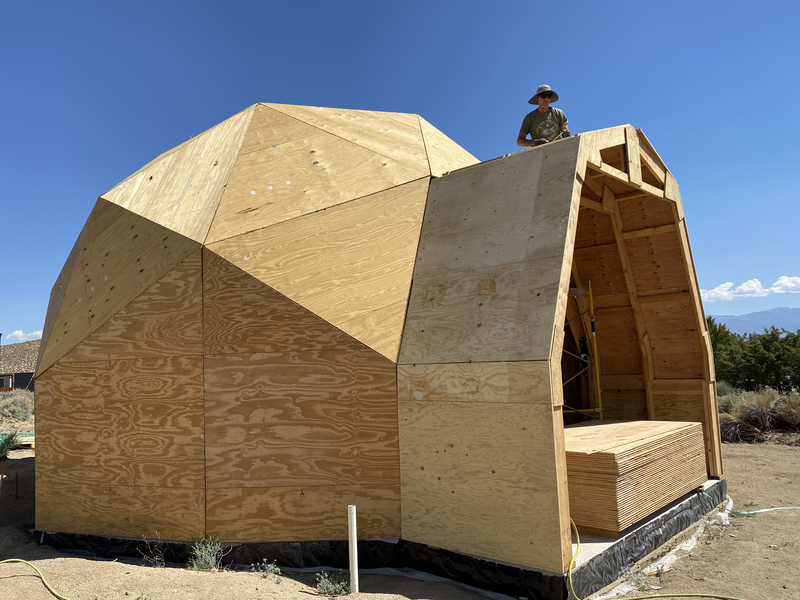
We just finished sheathing our extensions!
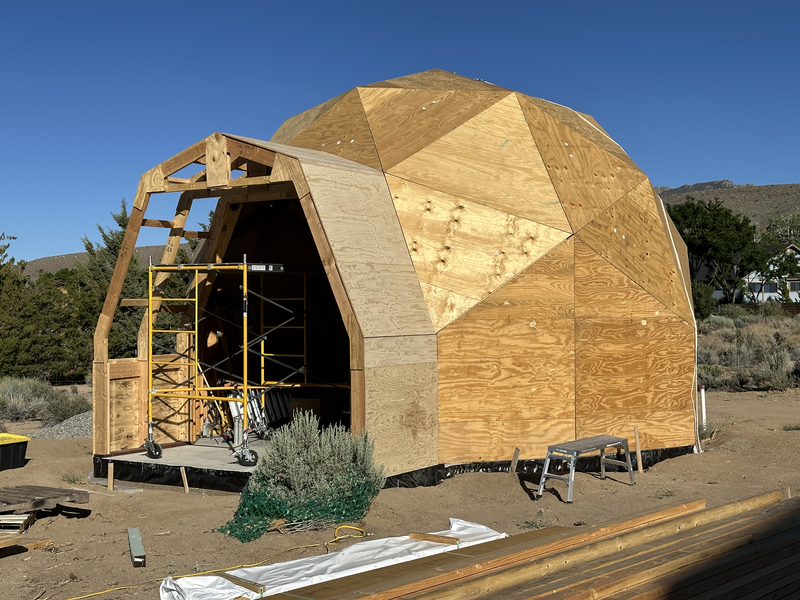
The Utility Dome is a sawtooth style dome, which is Natural Spaces Domes’ name for a dome shell shifted so that there is a hexagon at the top instead of a pentagon. The vertical riser walls are then angled at top, instead of forming a horizontal ring to begin the dome struts.
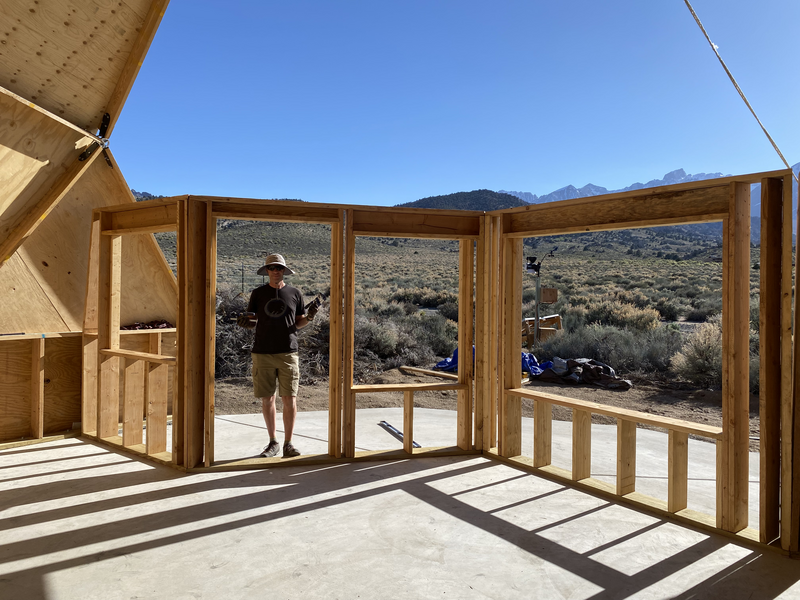
Since the Utility Dome has two uses, we wanted a separate entrance for each side. The north side will contain the inverters, batteries, etc. for our off-grid power. The south side, plus the loft above the electrical room, is destined for storage of stuff.
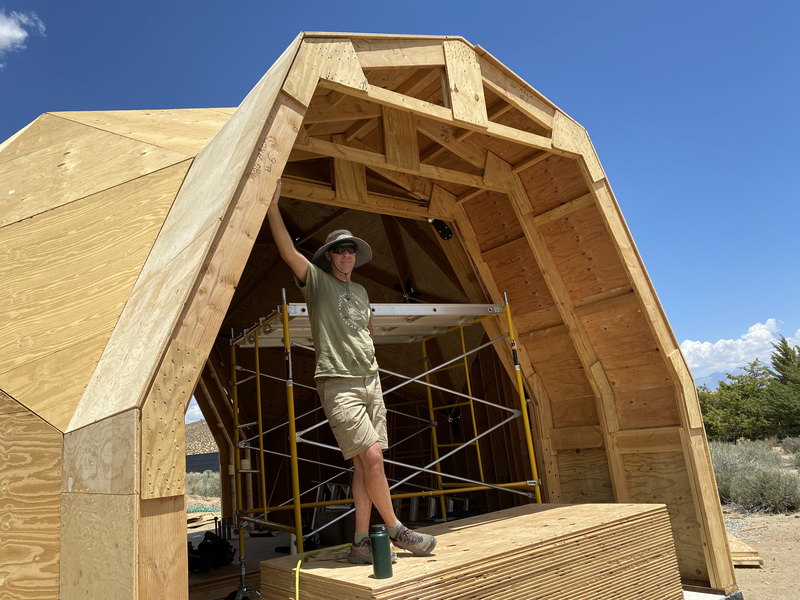
Each side has an extension to create a covered entryway.
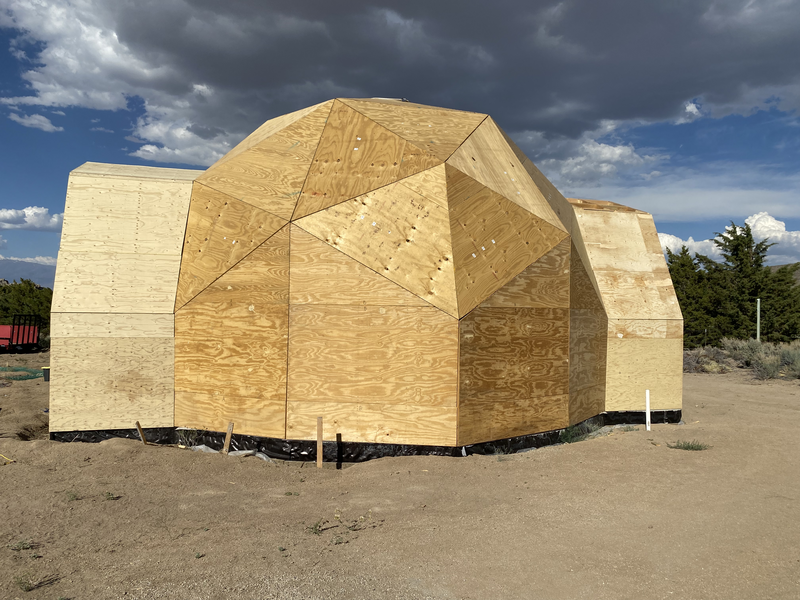
The Greenhouse Dome has a tiny version of an extension for the door. Alternatively, the MinneDome is cut away to have vertical walls and the exterior door is set in one of those walls.
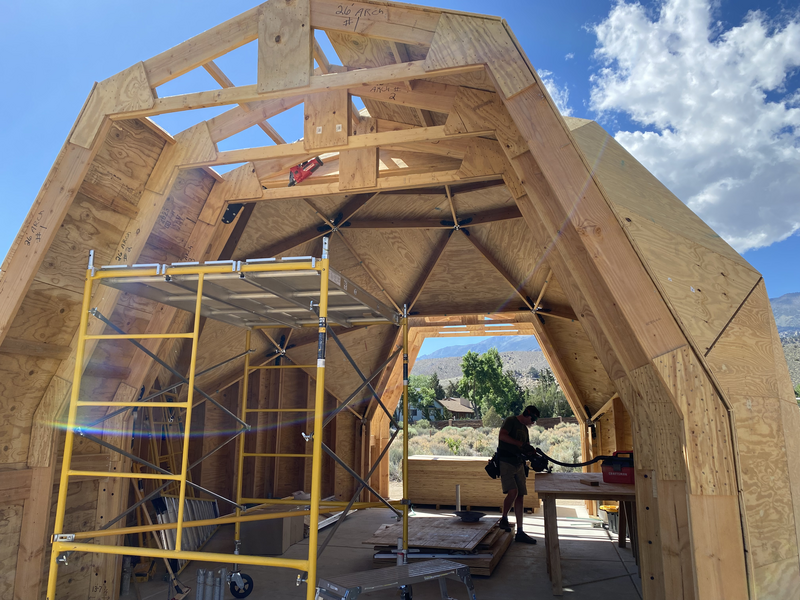
The prebuilt arches came in 2 pieces. We needed to make sure the 2 pieces were square and had the correct opening width at the bottom before we fastened them together.
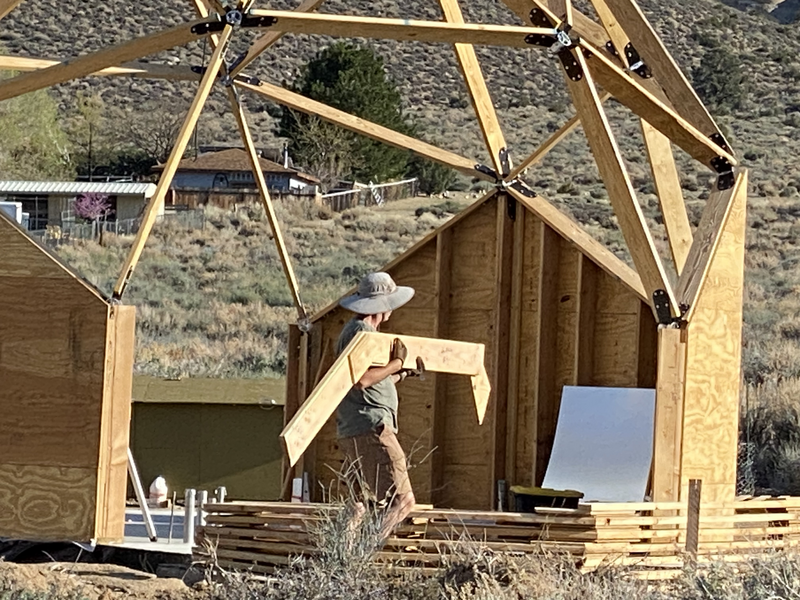
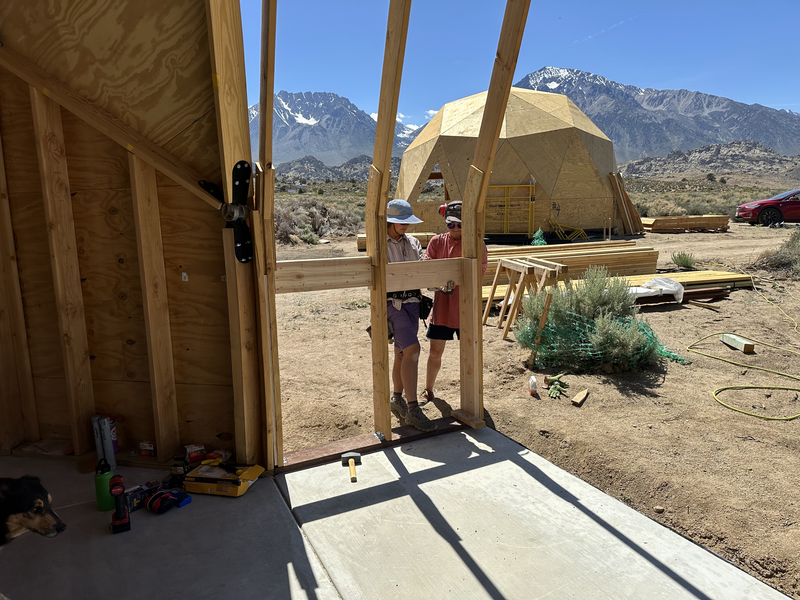
Our friend Sarah helped us a few days on the extensions and it was so helpful to have her help us carry and tilt up the big arches!
The arches are held to the dome with Simpsons ST6236 strap ties.
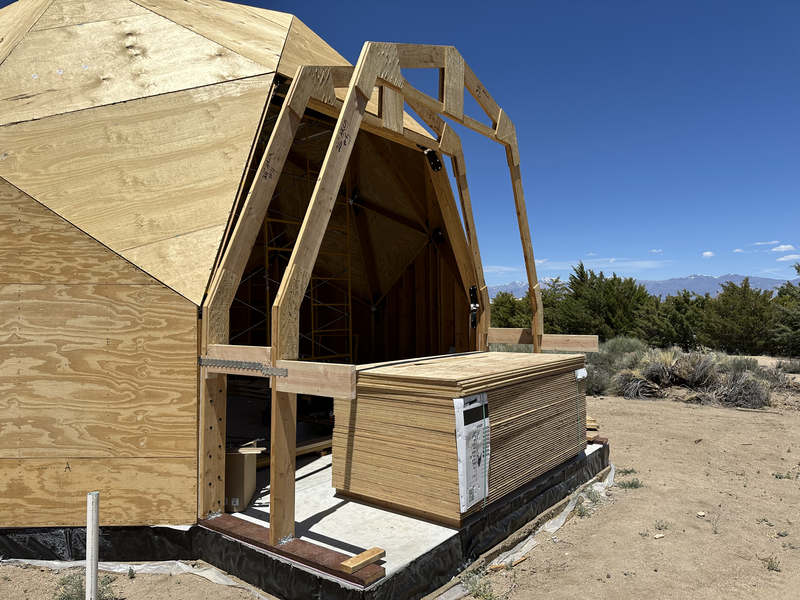
We measured, cut, and nailed a lot of blocking between the arches.
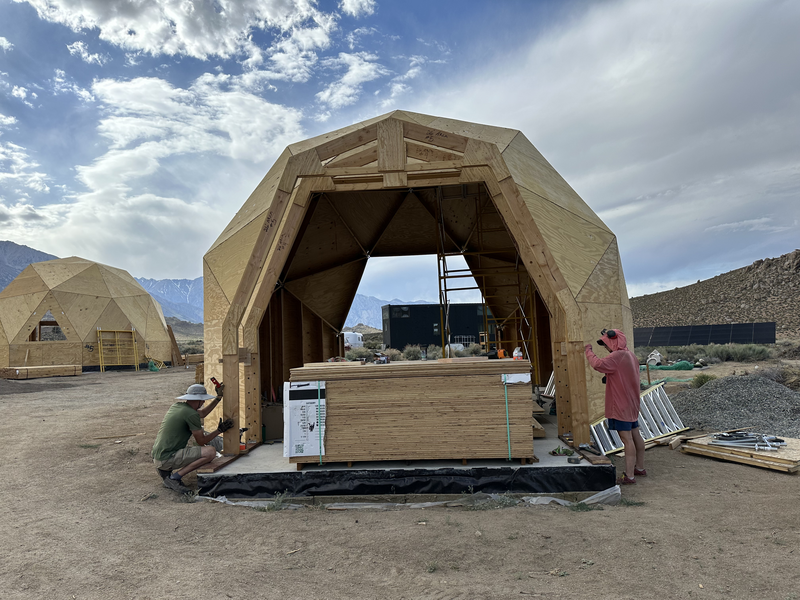
Each piece of tongue and groove sheathing was a different size because it had to fit against angled dome shell.
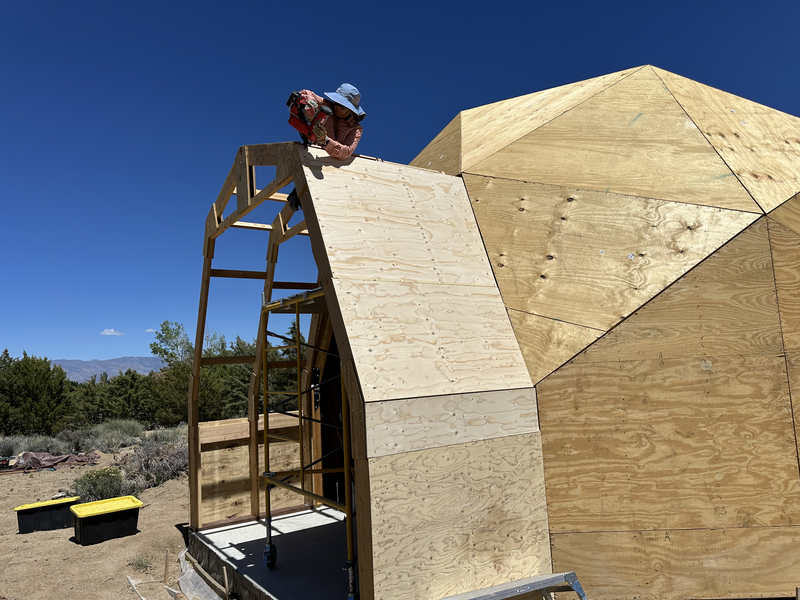
The last few days were in a heat wave, so we had to take more breaks, but we finished!
Looking good!! We’re putting up an extension that’s about the same size as yours (16 foot’ish) and wow there’s a lot more to it than you’d think! Glad to see you got some help!
Thank you! I’m glad you had help to prop the arches up, too! Then there is all the blocking and sheathing- necessary, but less glory.