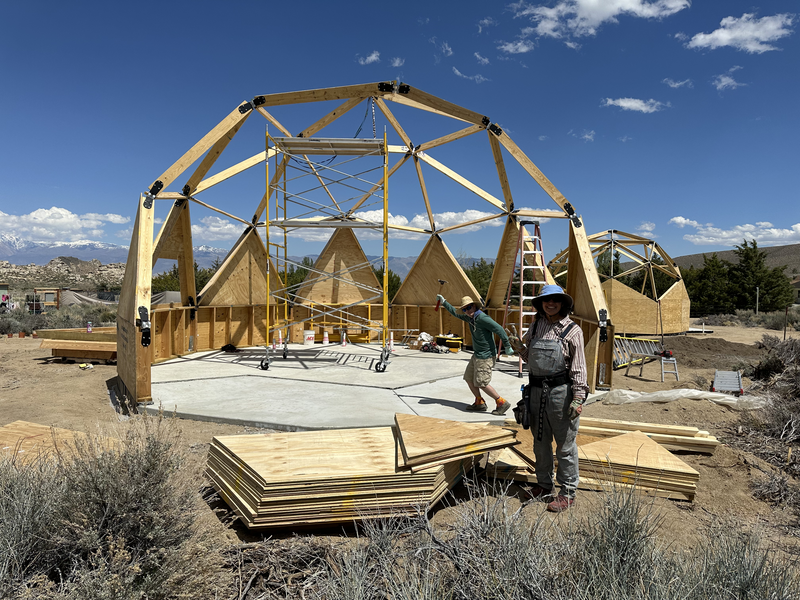
All the triangles of 3/4″ plywood sheathing for our 2 Natural Spaces Domes kits arrived precut and color coded. It was great!
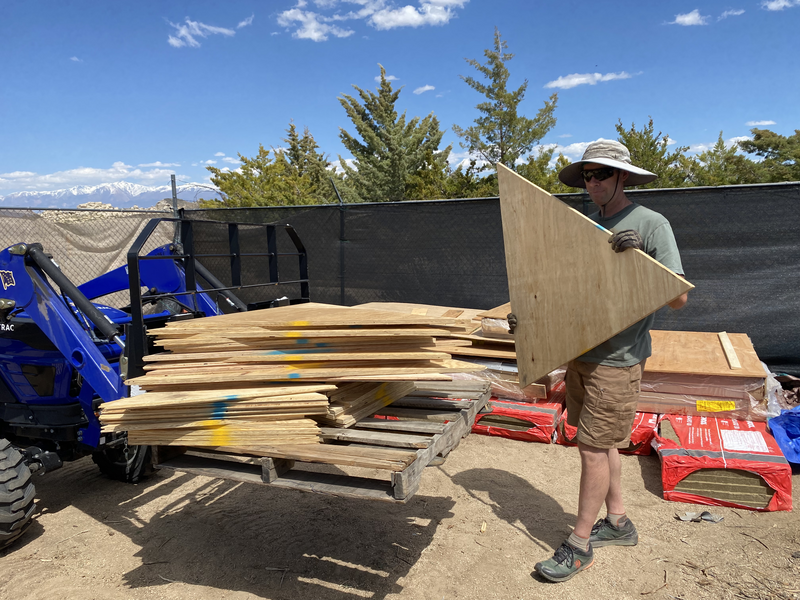
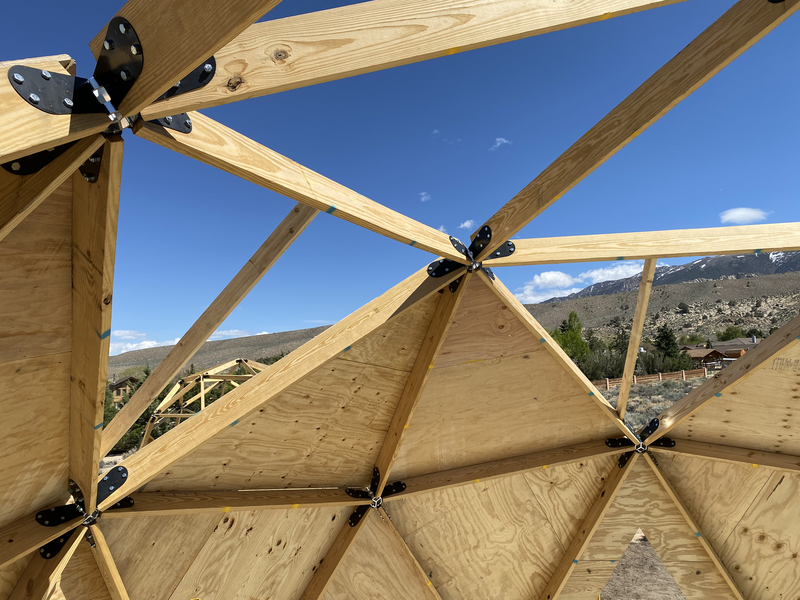
Both our domes are large for a 2 frequency (2v) dome, so the triangles came in 2 or 3 pieces that fit together with tongue and groove.
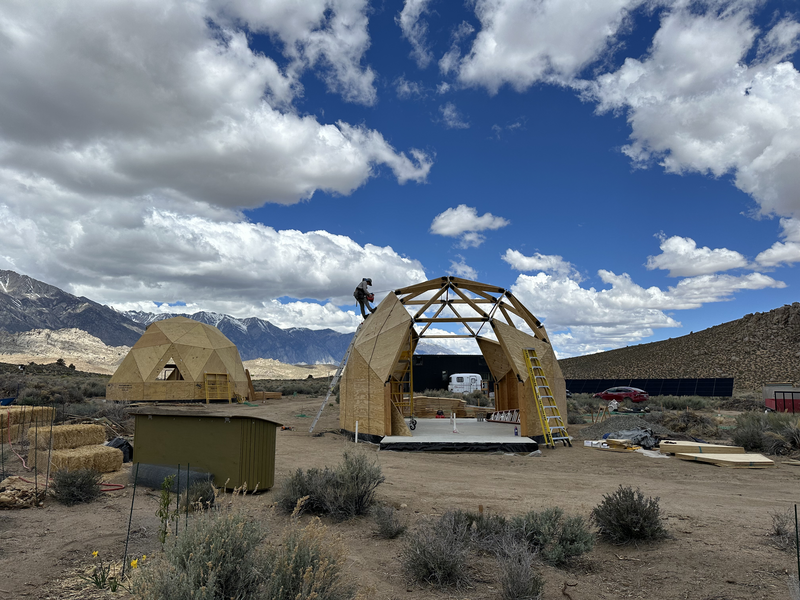
The Dome Manual recommended starting with all the base-down triangles in a row, then filling in with the point-down triangles.
One day, our neighbor Stacey helped us get quite a few of the triangles up on the MinneDome. It was so handy to have an extra hand and also to figure out the ratcheting technique when the struts were warped.
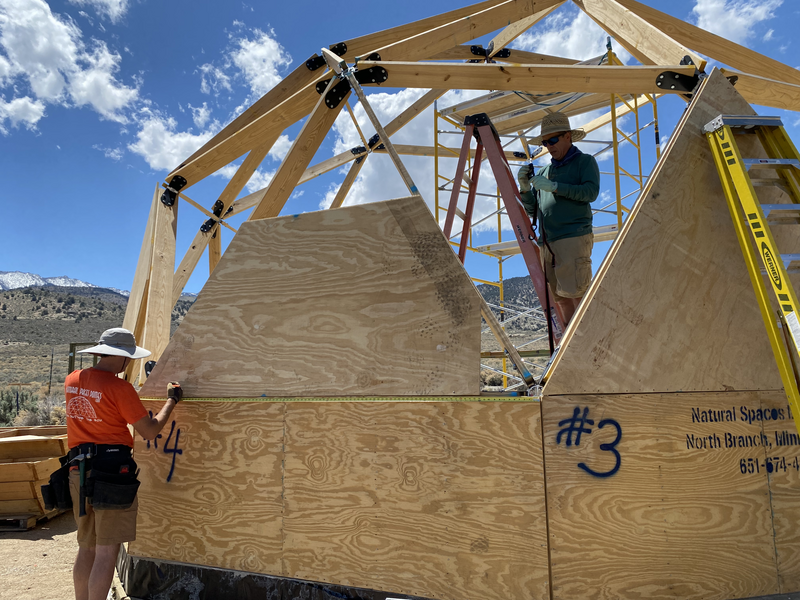
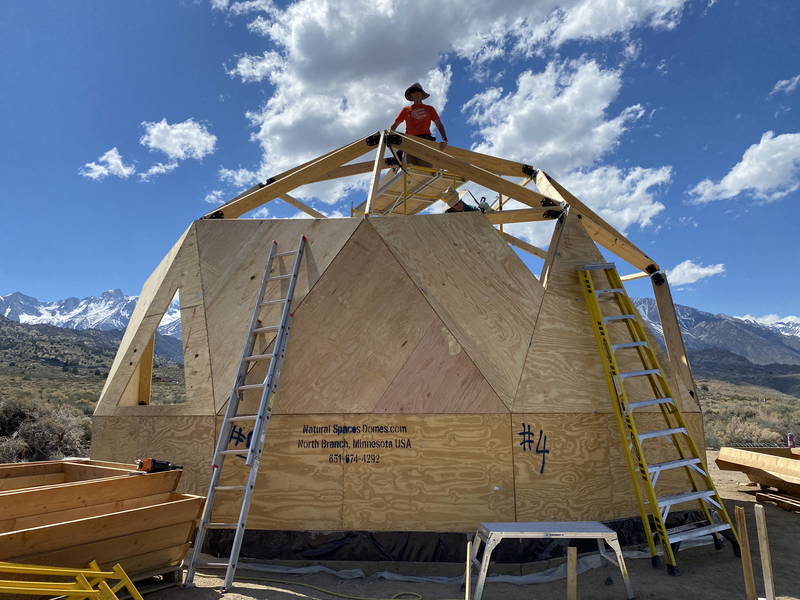
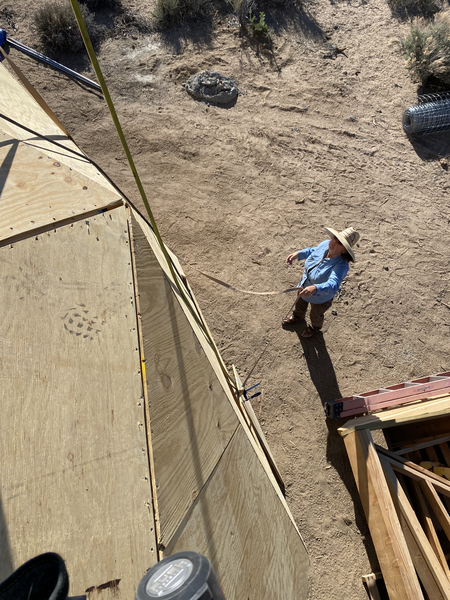
The scaffolding is so handy. After a couple rows, we got to the point where ladders on the outside weren’t tall enough and we wanted to be roped up. Jon set up an anchor at the top of each dome.
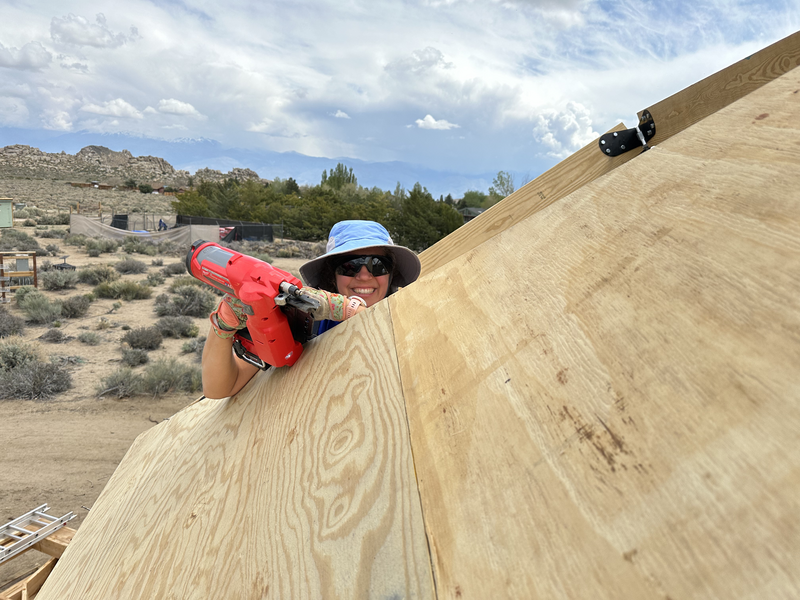
Because we’re in a high seismic zone, we were instructed to nail every 3″! That is a lot of nails! Thank goodness we both have a nail gun.
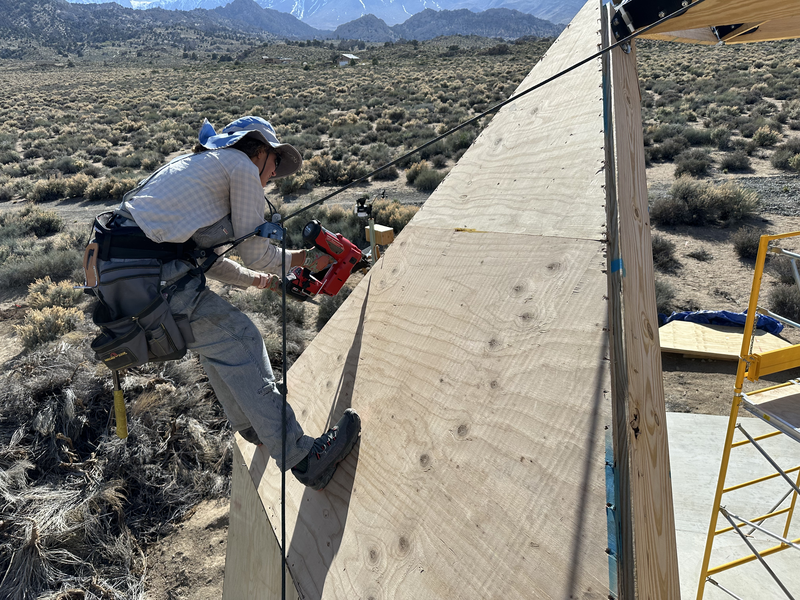

Jon’s mom and her boyfriend visited while we were installing triangles up high, and Tera helped by attaching the clamp to the triangles, so we could haul the next one up without rapping down and climbing back up.
Our friend Sarah helped on the Utility Dome triangles.

Since we live in a potential high snow load area, we have extra blocking on the upper triangles to prevent unsightly deflection. Without the snow load, extra blocking isn’t required under the 3/4″ plywood sheathing.
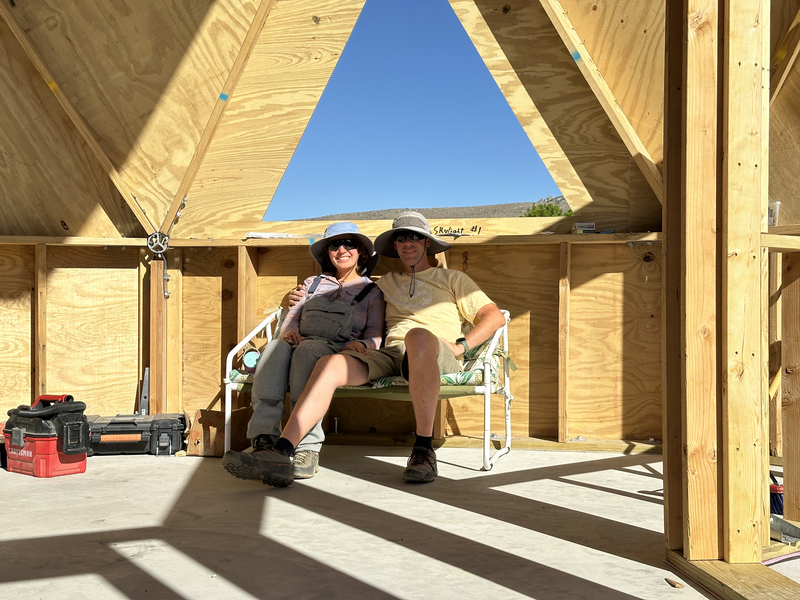
When we finished with the triangles, we tilted up and attached the 4 first-floor vertical walls in the MinneDome. Now I can really picture the rooms and views from the windows.
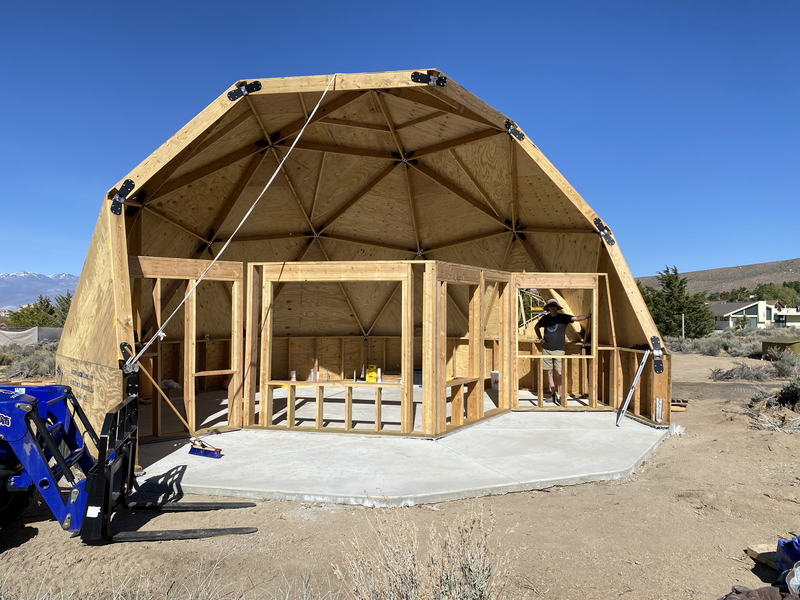
We like to practice sitting in our future living room.